18 ways to improve your guitar tone
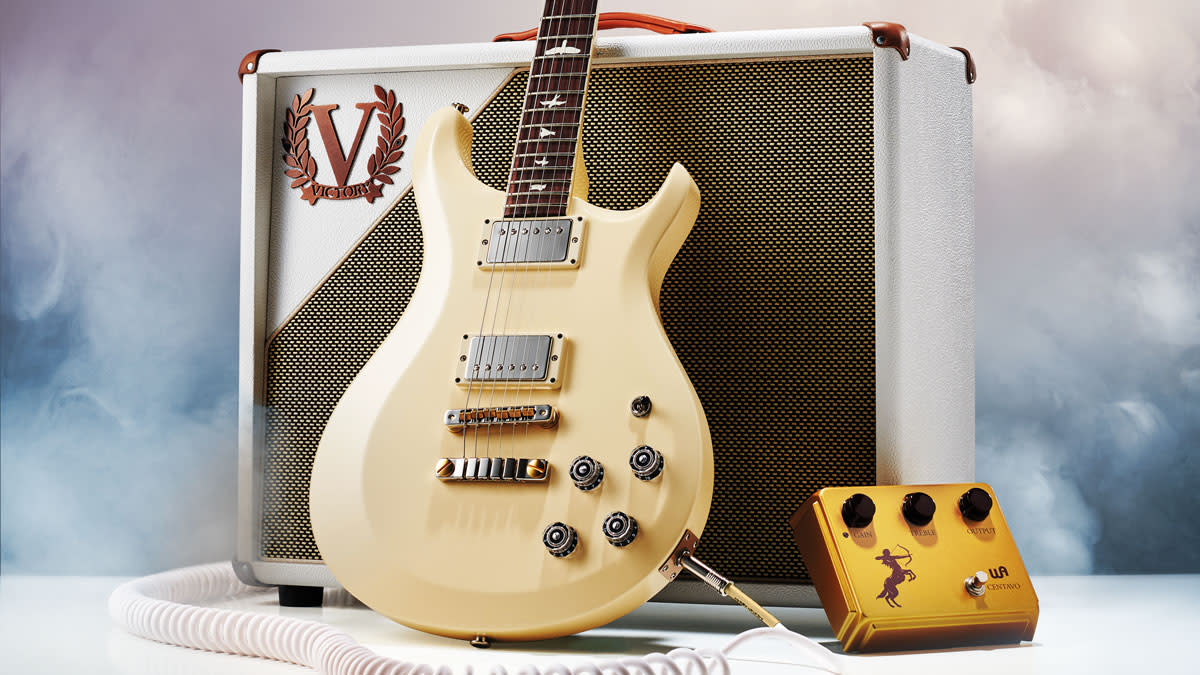
Chasing tone is one of the fundamental aspects of being a guitar player. Sure, you want to play the notes right, in the correct order, in time with the beat. But you want them to sound good. Sounding good is… good.
It is also not a given. There are so many factors that can affect your tone, particularly with an electric guitar, that it pays to be mindful of them, taking a holistic look at your gear to troubleshoot and identify where something isn’t working, or where something could sound a little better.
We’re going to look at 18 ways you can improve your tone, and some of them are so easy you might wonder why you’d never tried them before…
1. Change your pick
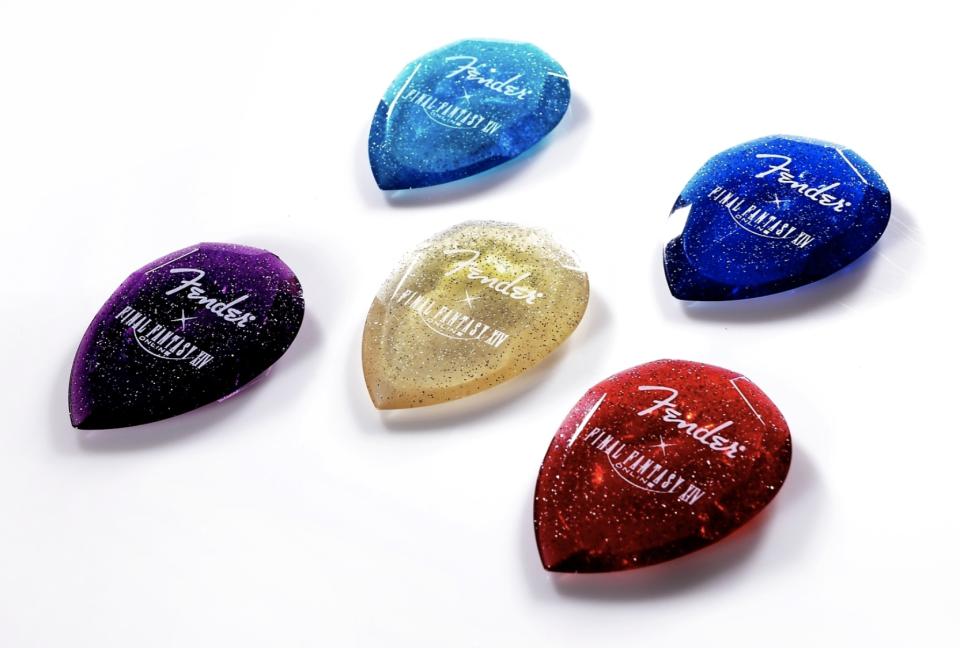
Your choice of guitar pick fundamentally affects your tone. Gently strummed acoustic parts laid back in the mix of a soft rock ballad generally benefit from thin picks with some give, so plastic, Tortex or similar are order of the day here.
Alternatively, if you want a Queen- or ZZ Top-style harmonic-rich biting electric sound, the ring of a metal pick on metal strings is best. Experiment with a variety of picks to see what works best for you.
2. Try different string gauges
Some players will insist that heavier strings sound better. They may be right. They may, however, be wrong. What we know for sure is that you can expect a different tone from two otherwise identical string sets of a different gauge.
Stevie Ray Vaughan strung his Strat with fingertip-busting 0.013s. His fellow Texan tonehound Billy Gibbons has used electric guitar strings as light as 0.007s. So there’s really no right or wrong, only what’s best for you.
3. String materials/construction
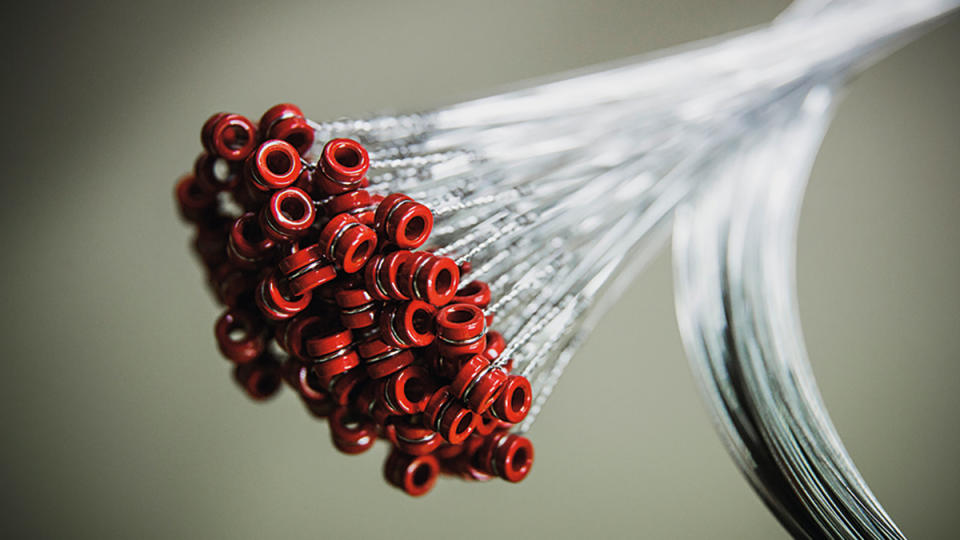
The gauge of string isn’t the only deciding factor in its tone. String companies offer strings mode of various alloys and with different construction methods, too. The size of the core and the shape of the wire wrapped wound around it all affect feel and tone.
It can be a bit of a journey to find what works for you, but keep in mind that flatwound strings are super-smooth, and generally used for jazz. Roundwounds are more general purpose. And, for those who can’t make up their minds, there are half-rounds.
4. Leave bass frequencies to the bass guitar

Sorry to disappoint you, but more bass in your guitar tone doesn’t necessarily equate to a fatter live sound. At least not if there’s a bass player in your band, stealing most of the low-end in the mix.
Don’t try and compete! Give the bass its space and be happy occupying the midrange. You’ll find it easier to mix your band’s sound and you’ll cut through with ease.
5. Cut saturation at high volume
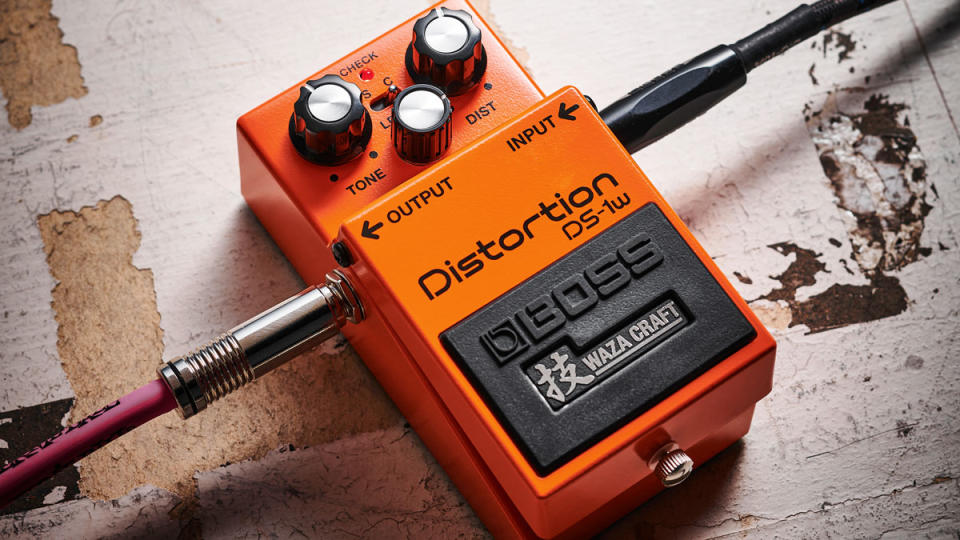
Pedalboard settings carefully crafted at home often don’t transfer perfectly to a loud live setting. Once you crank your amp’s volume up loud you’ll probably need far less distortion than you did at neighbour-friendly levels – especially if you’re using a tube amp, where power-amp distortion comes in to play. If you practice in a rehearsal room, spend some time auditioning your tones at stage levels.
6. Use an EQ notch filter to banish feedback
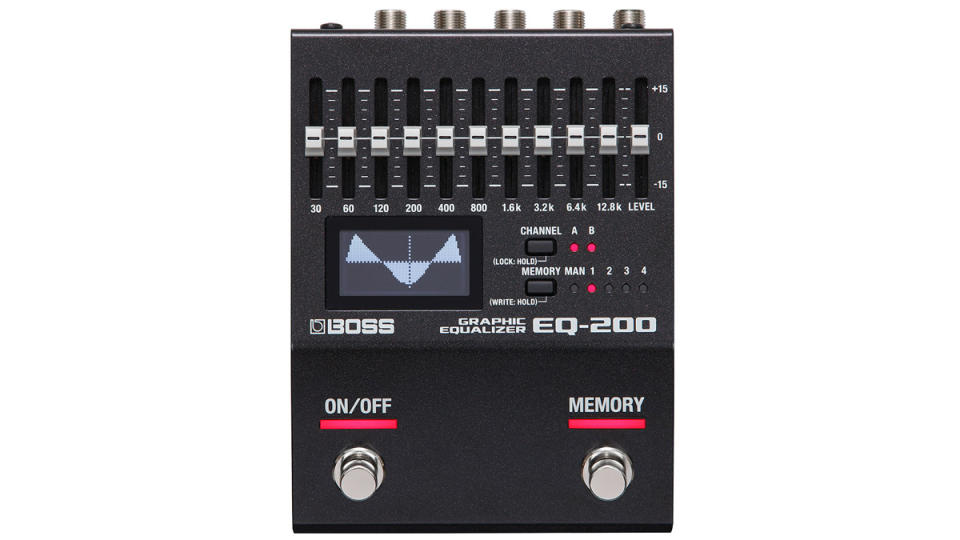
If playing loud or with high gain is part of your act, you’ve probably encountered the shrill screaming sound of feedback on many occasions. One solution is to keep a multi-band EQ pedal on your ‘board.
In general, the more bands your pedal has the better – and the Boss EQ-200 is a good option. You want to make a narrow-band EQ cut that matches the frequency of the feedback. Bear in mind that feedback tends to be different in every room so be prepared to tweak every time you play.
7. Top-wrap your tune-o-matic bridge
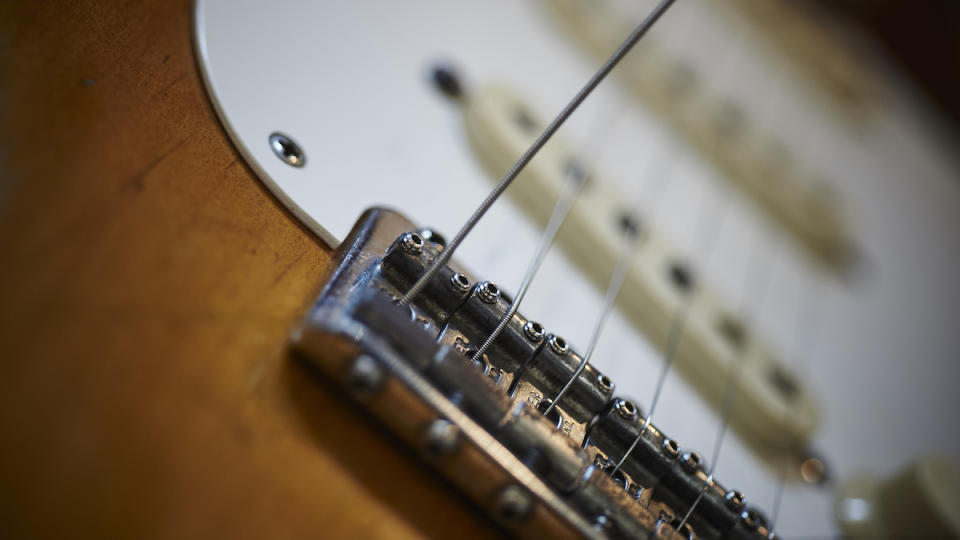
Insert strings the ‘wrong way’ into your Les Paul’s tailpiece (ie, so they point away from the headstock) then wrap them over the top, across the bridge and then attach as normal at the machine heads. You’ll probably need to screw the tailpiece most, if not all the way down to the body to get optimal string tension over the bridge – but that’s the point. Many LP players (Joe Bonamassa, for example) insist you’ll increase the resonance of your guitar with this simple setup tweak.
8. Volume control treble bleed mod
Standard guitar volume controls can cause a loss in treble when you turn them down. That’s because, as a side effect of altering volume, they act as a low-pass filter. To get round this, you can do a treble-bleed modification.
This is either a capacitor, or a resistor and a cap, wired, usually in parallel, to the pot. Popular combinations are a 150k resistor with a 0.001uf cap, or 100k/0.002uf.
9. Give your Strat a bridge tone pot
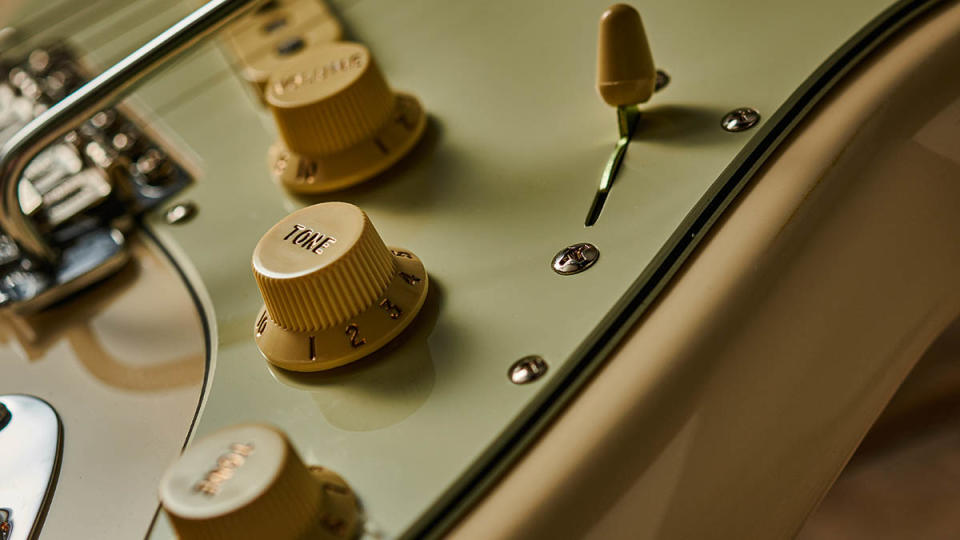
This one’s massive, and won’t cost you a bean (assuming you own a soldering iron). Vintage-style Strats use the second tone pot for the middle pickup, but it’s the bridge pickup that’s often a bit shrill.
It’s easy to swap the tone control from middle to bridge by locating the wire connecting the second tone pot to the middle pickup on the selector switch. Move it one tag towards the middle of the switch, changing it from the middle to the bridge pickup.
10. Raise your guitar’s action
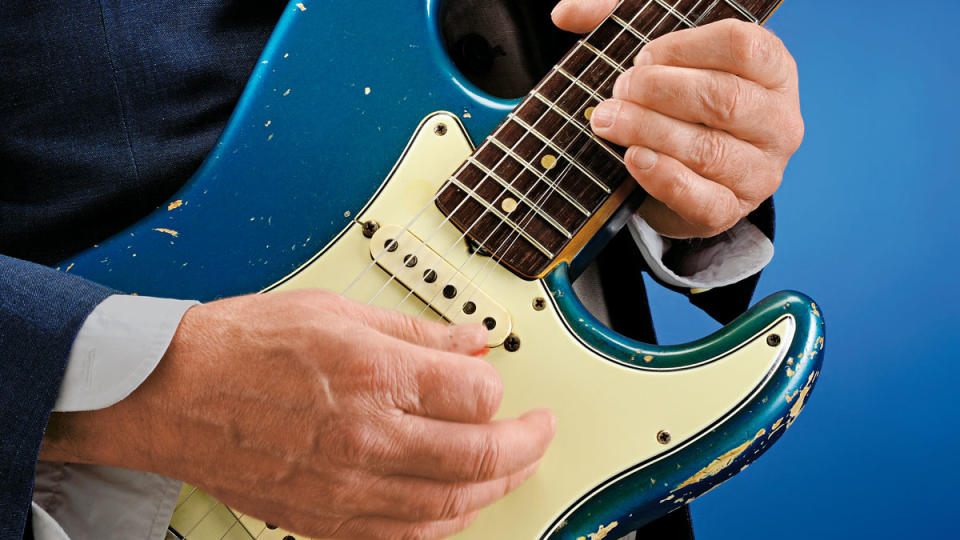
Sure, it’s easier to shred like a demon when your string height is low, but if burning up the fretboard isn’t your MO, you may want to consider asking your local guitar tech to raise your guitar’s action a tad. You see, the lower you go, the more you’ll encounter the dreaded string buzz. And you really only have to raise it a tiny bit to hear an improvement in your tone.
11. Get your pedals in order
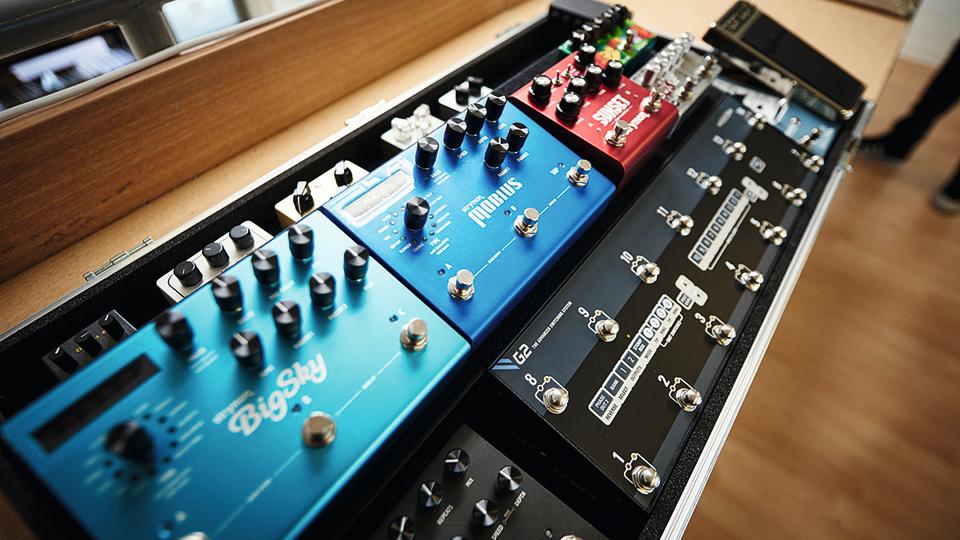
Follow these signal chain golden rules to get great tone without trial and error. Wah pedals come first, before preamps and distortion/drive pedals. Plug these into your amp’s input. If your amp has an effects loop, add delays, modulations and reverb pedals in that order here.
These effects create copies of the signal hence they usually sound better after gain. Compressors are usually best placed either first in your chain (great for taming spiky funk chops) or last (more akin to studio compression; great for smooth lead tones). Of course, rules are made to be broken, but this is a hassle-free starting point.
For more information, check out our guide to guitar pedal order: how to arrange your pedalboard.
12. Adjust pickup height
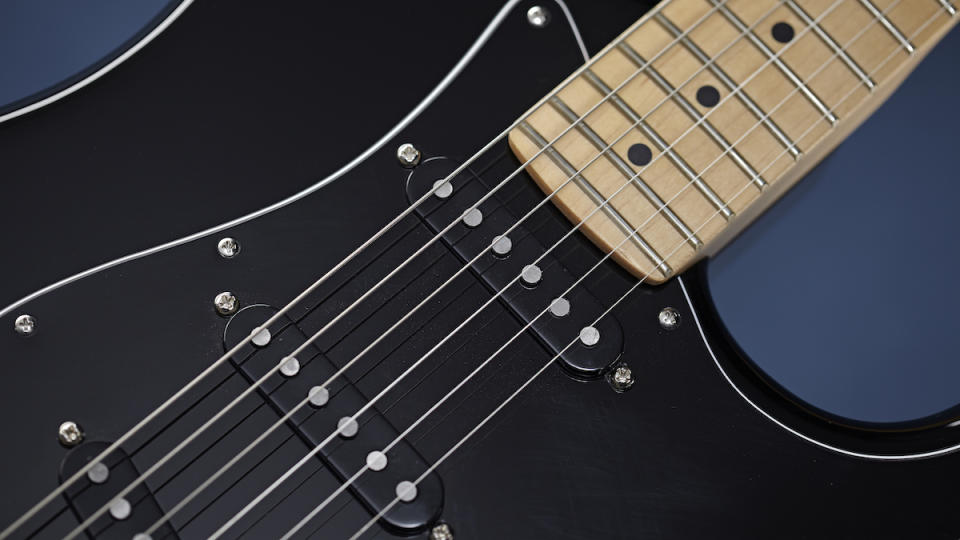
This is one of the most under-appreciated tips of all. Raising your pickups closer to the strings should, in theory, increase the output level. However, pickups raised too close to the strings can cause “wolf notes”, when the magnetic field of the pickup interferes with the natural vibration of the string resulting in unpleasant sounds. Aim for the sweet spot where the balance of output level and tonal purity meet!
13. Use string-mutes for cleaner leads

Ask yourself, how clean is your playing, technically speaking? If the honest answer is that it could be cleaner, well, there is help at hand until you’ve got those shred skills up to speed.
A fretwrap is a soft wraparound length of fabric that you can use either on the fretboard behind your fretting fingers (or even behind the nut) to minimise string noise. For the driest of dry sounds you can place a piece of foam between the bridge and tailpiece of a Les Paul-style tune?o?matic bridge.
14. Get buff
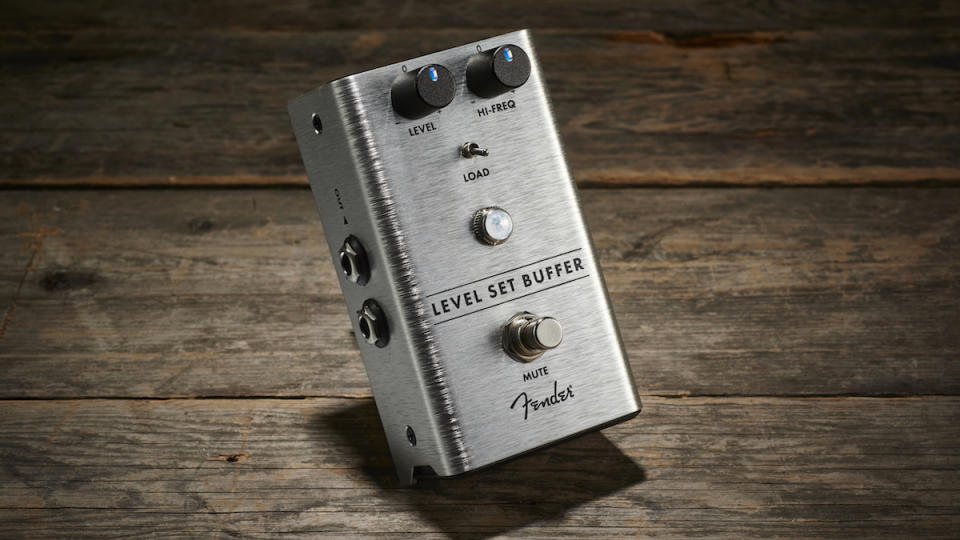
Lengthy guitar cables and long chains of effects pedals can degrade your tone. Solve this by adding a buffer to your ’board. If you own a lot of pedals there’s a good chance one of them already has an onboard buffer.
If a super-long cable is the offending item (and assuming you can’t replace it with a shorter length alternative), placing the buffer at the start of your signal chain will help. And if changing effect order isn’t viable, a dedicated buffer pedal is an affordable item.
15. Try a clean boost
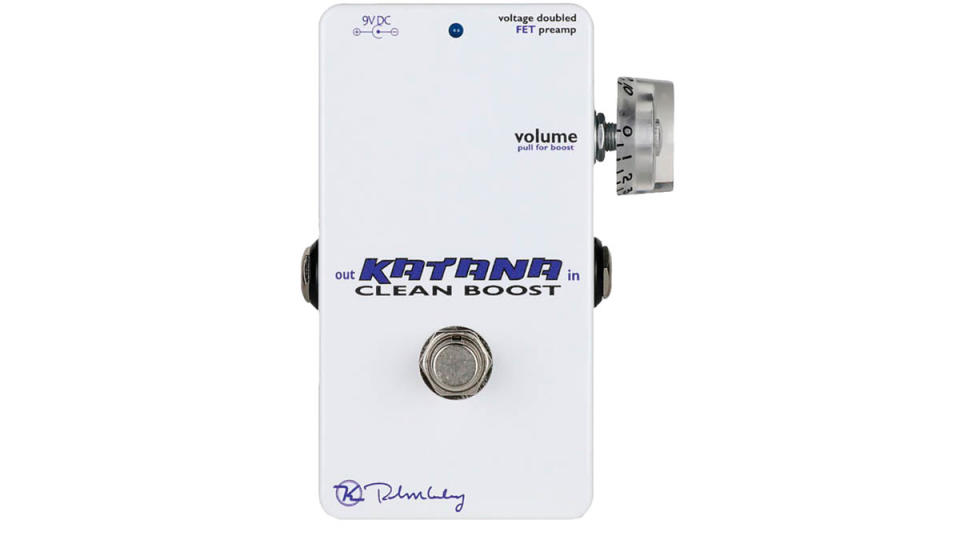
A secret weapon on any gigging guitarist’s pedalboard, a clean boost will increase your signal level – usually by around 15-20dB – but without the extreme sonic colouration of a distortion pedal.
If you love your valve amp’s tone and don’t want to fundamentally change it, a boost pedal is for you. Use one as a temporary boost for soaring solos, or as an ‘always-on’ brightness/EQ bump.
16. Get your guitar set up
Maybe this is obvious, but keeping your pride and joy ship shape and in tip top condition will help you get the most out of it. We recommend paying your local guitar tech a visit once a year.
17. Identify your tonal “problem” first
Perhaps we should’ve opened on this slightly philosophical point, but, suffice to say, it’s important not to go too far down the rabbit hole of the quest for tonal nirvana. If you liked the sound of your gear when you bought it, ask yourself whether you really, truly need to upgrade it. Sometimes optimising the gear you already own is all you need to do...
18. Use the right-sized amp
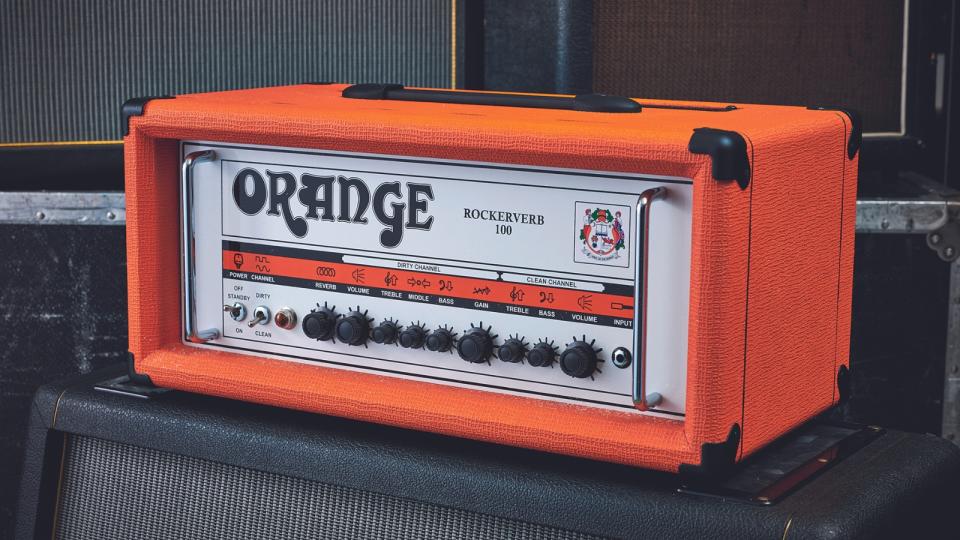
Tube amps need to be working at their ‘sweet spot’ to sound best. Weirdly, for most Marshalls and Fenders, that seems to be anywhere from four to eight on the master, in our experience!
If you find a valve amp sounds somehow ‘cold’, ‘brittle’ or harsh, it might be that it’s just not turned up enough to be working at its best. Joe Perry of Aerosmith, for example, uses small amps, suitably mic’d up, even for stadium gigs.
