Apartment Therapy and Yahoo may earn commission from links in this article. Pricing and availability subject to change.
A $13 Renter-Friendly Hack Added Regal Vibes to This Kitchen’s Floors

This article may contain affiliate links that Yahoo and/or the publisher may receive a commission from if you buy a product or service through those links.
As a renter (or someone who loves to update their space constantly), there are seemingly endless temporary hacks you can try to switch up your home’s look. You could hang removable wall tiles for a backsplash update, test out peel-and-stick wallpaper, or even refresh the kitchen floor.
Updating the kitchen floor — whether you’ve got tile or hardwood — seems like a big job. (And often it is.) But here’s a little secret: You can use removable peel-and-stick floor tiles to totally change the look of your space. Take it from Geevie Wood, who updated the kitchen tiles herself in her 1920s Minnesota rental home.
“The original floor was very 2000s, just like the new light fixtures,” Wood explained. “And in my opinion, it’s an insult to the apartment! Unfortunately, I’m not allowed to replace any lighting, so doing the floors was an easy, affordable, renter-friendly, and super-effective way to make it more my own and give it some personality.”
So, Wood (with the help of her sister) set out to update her tired kitchen floor. Here’s how she did it.

How to Install Peel-and-Stick Floor Tiles
Before moving into her current home, Wood toured several other apartments and pulled design inspo from them. “I toured another apartment before this one that had a similar kitchen with black and white checkered floor tiles (I almost rented it) and knew that’s what I wanted,” Wood shared. “I think combining the retro look of the checkered floor with a 1920s kitchen really works and goes great with my sink.”
She bought two packs of Nexus floor tiles from Amazon, and the duo got to work — here’s a step-by-step guide on how Wood installed her temporary flooring.
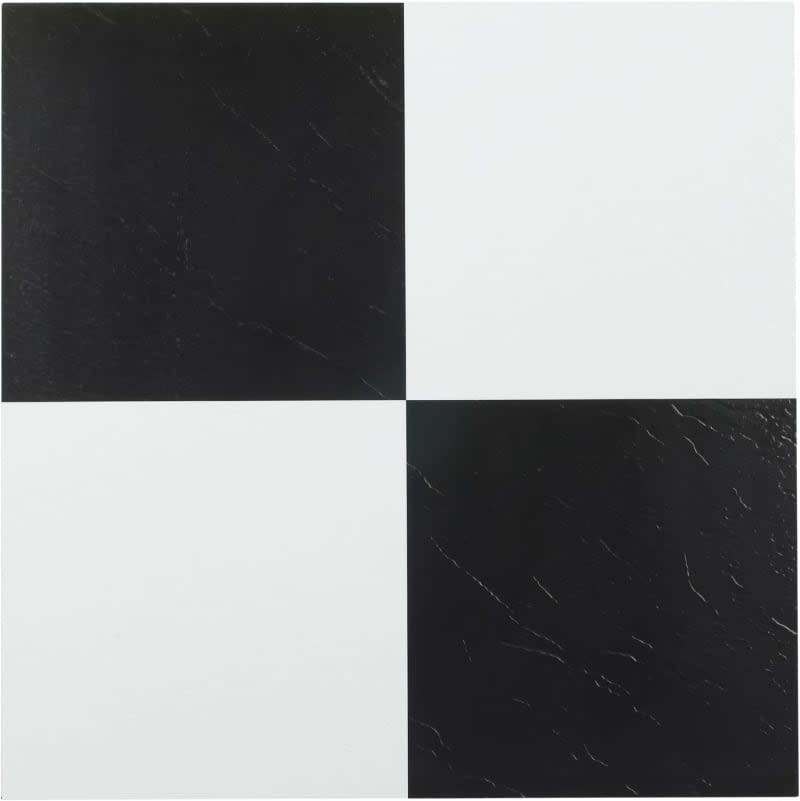
Nexus Self-Adhesive 12" Vinyl Floor Tiles, Set of 20
Amazon
$13.68 (was $19.99)
Thoroughly clean the floor and let it dry before placing the tiles.
Peel and stick the tiles to the floor (Wood cut the tiles lining the walls to make them fit better).
Once they were laid out, Wood placed books on top of them to help them stick.
Wood wanted her space to bring her more joy and said the original flooring looked like it was “crying for help” — luckily, she answered the call with this simple, renter-friendly solution. With minimal effort, money, and (required) skill, she completely updated the look of her dull kitchen. The best part? It only took her a few hours to complete.
Buy: Nexus Self Adhesive 12-Inch Vinyl Floor Tiles, Set of 20, $12.61 (originally $19.99)
This post originally ran on Kitchn. See it there: You’d Never Guess These Floor Tiles Are Peel-and-Stick (and Only $13!)
Further Reading
We Tested (and Rated!) All the Sofas at Pottery Barn — Here Are the Best for Every Type of Need
See How a Stager Used Paint to Transform a 1950s Living Room
