15 DIY Compost Bin Plans
Ideas for How to Build a Compost Bin in Your Garden
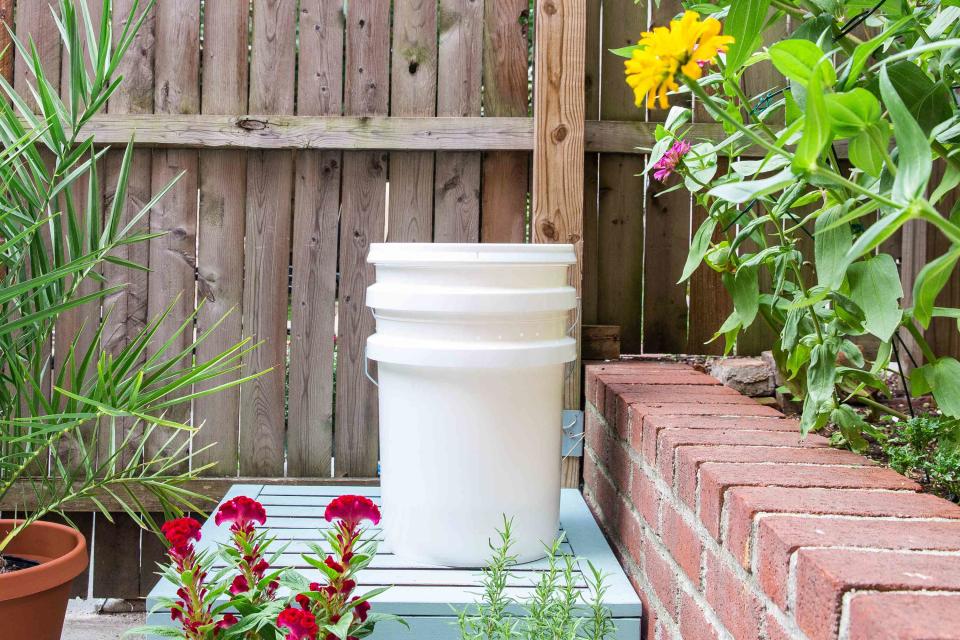
The Spruce / Candace Madonna
Reviewed by Amanda Rose Newton
If you're looking for a way to get rich soil for your garden while sustainably getting rid of food waste, consider a DIY compost bin. Building your own compost bin is a great budget-saving alternative to buying one. Composting is an easy process that takes green waste (e.g., fruit, vegetables, weeds, eggshells, and coffee grinds) and brown waste (e.g., dry leaves, sticks, cardboard, and newspaper) and mixes it until everything decomposes. The resulting nutrient-rich mixture can be used to feed plants and improve soil.
Popular DIY compost bin materials include pallets, wire fencing, plastic totes, trash bins, straw bales, buckets, and even barrels for DIY compost tumblers. That said, one of the easy DIY compost bins for beginners is simply using a trash can. All you need to do is drill several holes in it so your compost is able to get enough air and break down quickly.
Here are 15 DIY compost bins you can create at home.
Under $5 Worm Bin
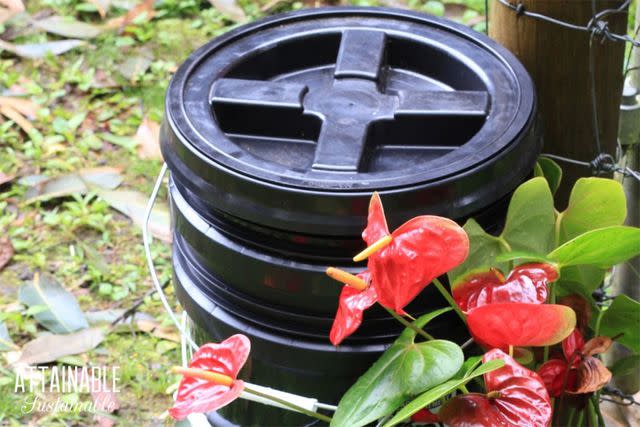
Creating a worm bin is a great way to begin composting, and it takes up a lot less room than a large composter. This can be a great solution for those who have a small yard or an apartment.
All you need are a couple of 5-gallon buckets, a drill, and golden dirt. This project will take you through the process of making the worm bin as well as filling it. There are also a lot of tips for filling the container with worms and expanding your worm bin in the future.
Set aside an hour (at most) to make this worm bin that costs less than $5 from Attainable Sustainable.
Under $5 Worm Bin from Attainable Sustainable
Trash Can Compost Bin
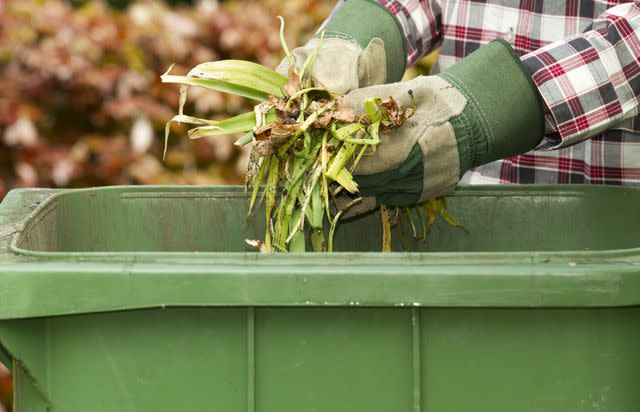
BartCo/E+/Getty Images
Making a compost bin out of a trash can is a great way to get a compost pile going quickly and without much of a budget. You'll need a plastic trash can with a lid and a few other materials to build it. It's a really easy project and it's perfect for the beginner. The whole project will take you less than an hour.
Trash Can Compost Bin from The Spruce
Pallet Compost Bin
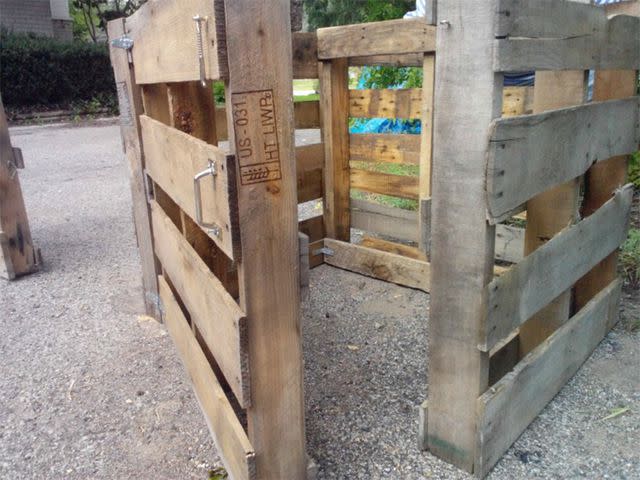
Here's a free DIY pallet compost bin plan from Mike's Backyard Nursery that's an affordable choice for someone who wants a permanent area for compost but isn't looking to spend a lot of money.
This plan uses wood pallets for the frame and some hardware to keep everything together. It's pretty easy to find free pallets, making this an inexpensive way to compost. Add some hardware and a handle and you have a fully functional compost bin.
Pallet Compost Bin from Mike's Backyard Nursery
Wooden Compost Bin
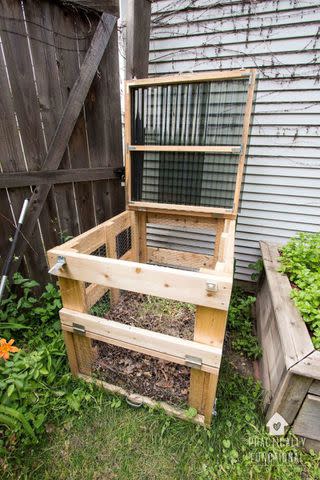
If you're serious about composting and want to build something that will last, this wooden DIY compost bin from Practically Functional is a great option. A hinged lid makes it easy to add items to compost, and it's sturdy enough to keep out any animals. Added features include hardware cloth, which provides air circulation, and hinged access to the bottom of the bin to get out the finished compost.
Wooden Compost Bin from Practically Functional
Wire Fence Compost Bin
mtreasure / Getty Images
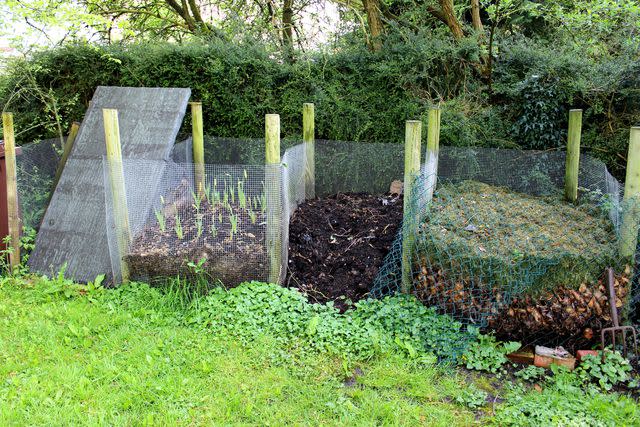
If you have an area outside where you'd like to start a compost pile, this plan will show you how to make it secure.
Inexpensive chicken wire surrounds the compost pile, though any type of wire fencing will do. You can easily change the size of this compost bin depending on the area you have.
Tote Compost Bin
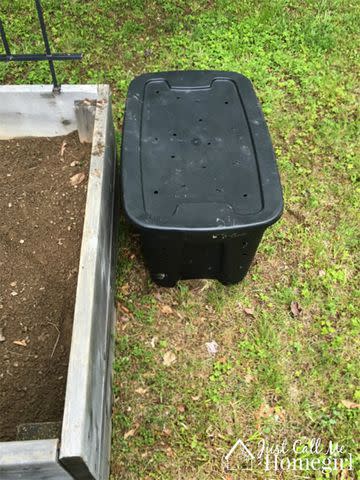
A plastic tote can easily make a compost bin with some holes to promote air circulation. For this project from Just Call Me Homegirl, you simply need a large tote and a drill to make the holes. Because this DIY compost bin is low to the ground, it's also a great way to get kids involved in composting.
Tote Compost Bin from Just Call Me Homegirl
Straw Bale Compost Bin
ottoblotto / Getty Images
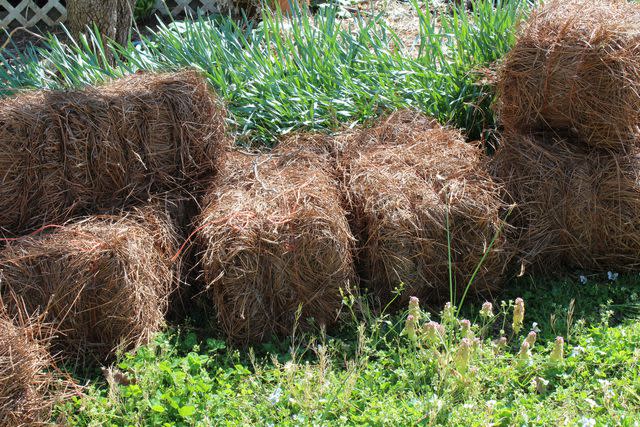
Another way to make a simple, inexpensive, and custom compost pile is by surrounding it with straw bales. This lets you decide the size of the pile, which you can easily adjust as needed. It also provides insulation to make the composting process happen more quickly. Plus, as the straw breaks down, it can be incorporated into the compost pile.
DIY Compost Tumbler
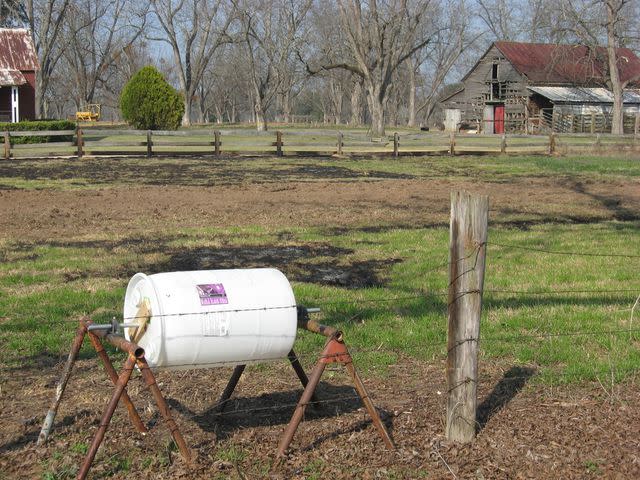
This compost bin plan from Kinda Crunchy Kate creates a DIY compost tumbler, which makes it easy to turn over the compost. Turning a compost pile is important for controlling odors and making sure material at the edges mixes in to heat up and decompose. Tumblers can be pricey to purchase pre-made, but this tutorial shows how to make one inexpensively with an old barrel and some sawhorses.
DIY Compost Tumbler from Kinda Crunchy Kate
Plastic Storage Container Compost Bin
BartCo / Getty Images
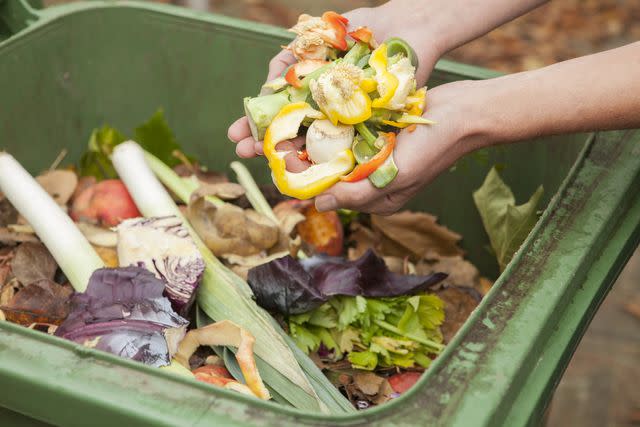
Here's a slightly different way to build a compost bin out of a plastic storage container. The twist is drilling holes 1 to 2 inches apart on all sides of the container, including the bottom and lid, and then using wire mesh or hardware cloth to keep rodents out of the compost pile. You also can put the container within a second container to catch the liquid that sometimes seeps out of the compost pile.
Dig-and-Drop Composting
Mint Images-Henry Arden / Getty Images
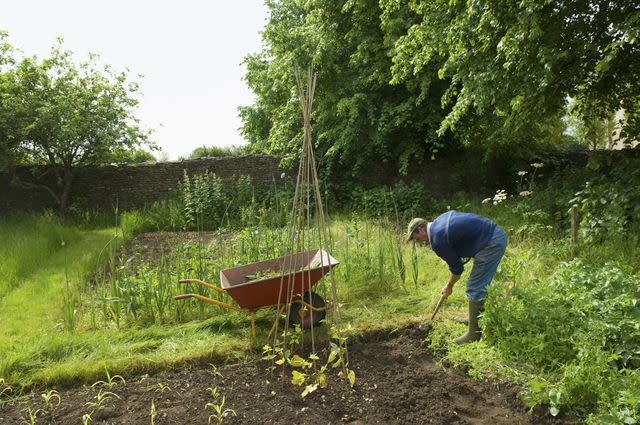
The easiest, quickest, and cheapest way for using compost in the garden is by using the dig-and-drop method. All you need to do is dig a hole in your garden and then add your composting materials to it. Cover the hole back up, and you'll have automatically enriched the soil for nearby plants.
Trench Composting
Sebastian Condrea / Getty Images
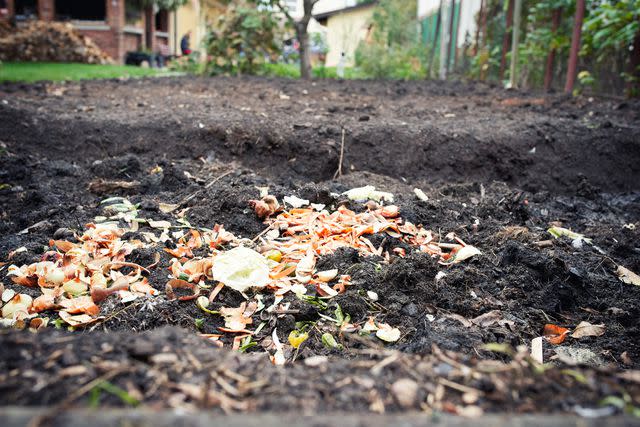
If you have rows of plants in your garden, consider taking the dig-and-drop method one step further with trench composting. Simply dig a trench alongside your plants that's roughly a foot deep, and then fill it with about 6 inches of compostable materials. Then backfill the rest of the trench with soil. This is a great method for vegetable gardens where the crops are in evenly spaced rows.
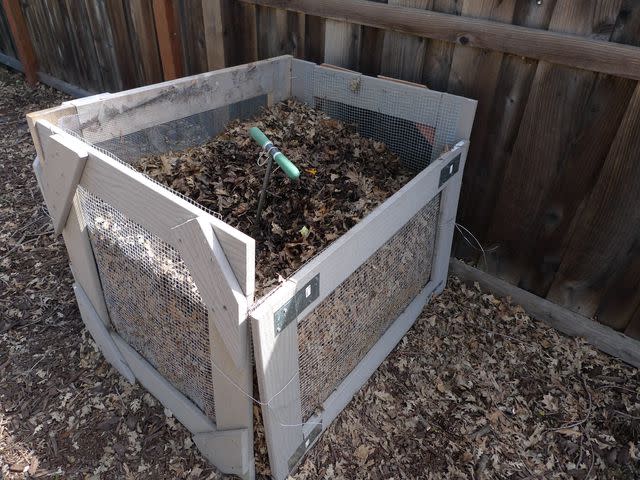
Hot Composting
Matt Montagne / Flickr / CC by 2.0
Hot composting is a method that optimizes the microbial activity in a compost pile to decompose materials into compost faster.
You can create your compost bin out of any typical material, such as wood pallets or wire fencing, but it must be at least 4 feet by 4 feet. It also should be positioned where it will get full sun.
Old Dresser Drawer
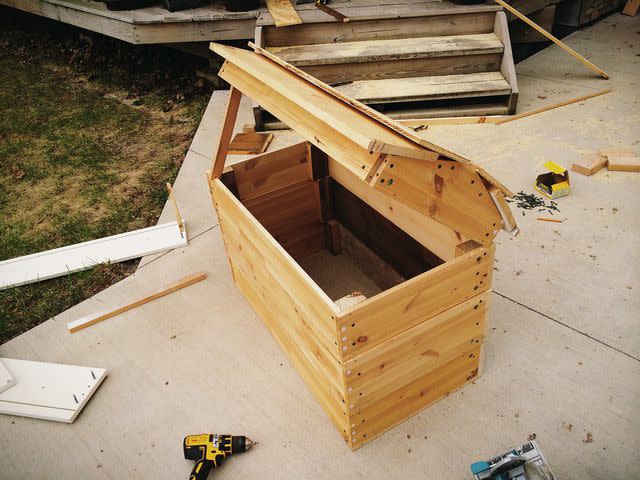
If you’re not able to compost outdoors, there are still some options for indoor composting on a smaller scale. For instance, you can use a plastic storage bin. Or you can repurpose a salvaged item, such as an old dresser drawer.
Cover the top with a hinged piece of wood or heavy fabric, and you’ll have yourself a composting vessel.
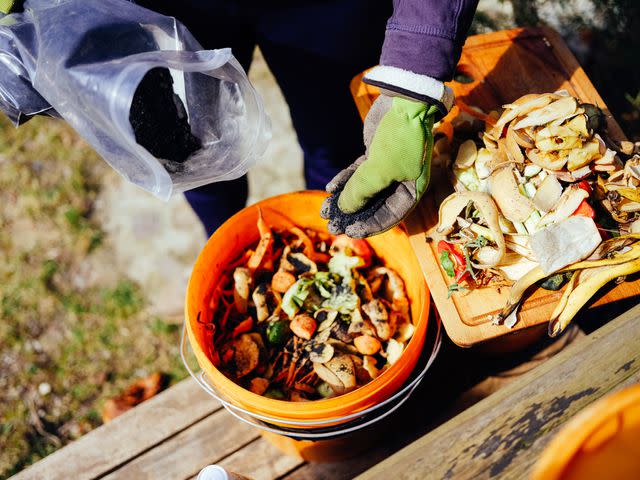
Bokashi Bucket
Guido Mieth / Getty Images
Bokashi composting quickly turns organic materials into compost using microorganisms. You can purchase bokashi kits, but it’s easy to make the composter yourself.
You need two 5-gallon buckets, one well-fitting lid, and a drill. Drill holes into the bottom of one bucket, set it inside the other, and you’re ready to add your composting materials.
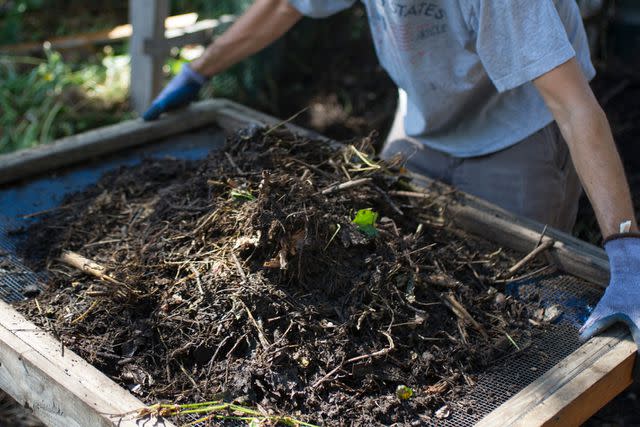
DIY Compost Screen
Kurt Wittman / UIG / Getty Images
Regardless of the vessel in which you keep your compost, you’ll often want a compost screen to sift out any large chunks that haven’t fully decomposed before you add the compost to your garden. A DIY compost screen is easy and inexpensive to make.
Make a four-sided frame out of lumber, and staple hardware cloth to all the sides. Then, you can hold the screen over a bucket or wheelbarrow and sift the compost through it before use.
Tips for Using a DIY Compost Bin
When learning how to compost, keep these tips in mind:
Best materials to include: The best materials to compost are crushed eggshells, grass clippings, coffee grounds and filters, hay, straw, nutshells, old vegetables, fruit and vegetable peels, stale bread, and more. Make sure to research any materials you want to add to your pile beforehand.
What not to use: There are certain materials you'll want to avoid when making your own compost such as meat, seafood, dairy products, baked goods, treated wood/sawdust, acidic foods, pet waste, human waste, greasy foods, oils, onion, garlic, plastic, cellophane, coated cardboard, toxic or deceased plants, and more. Make sure to research materials before adding them to your pile.
Green vs. brown composting materials: There are two types of composting materials, referred to as green matter and brown matter. Composting requires a ratio of around 3 to 4 parts browns to 1 part greens. Examples of green materials include things like grass clippings, coffee grounds, eggshells, and vegetable scraps. Brown materials include things like straw, hay, fall leaves, and pine needles.
Layering compost: Composting requires a proper layering of the materials. Your base layer should have twigs, mulch, or old potting mix. Next, add layers containing two parts brown material to one part green. In between each layer, add some water to keep the pile moist (not wet). Your final layer should be fresh soil or compost to help reduce odors.
Hot vs. cold composting: Hot and cold composting are different methods of composting. Hot composting is a faster way to decompose materials but more work. Cold composting takes longer but does not need as much maintenance.
Adding worms: In general, you do not need to add worms to your compost pile because worms will find their way naturally.
Frequently Asked Questions
How often should you turn compost?
In general, compost should be turned every three to four days, though compost made with slowed microbial activity can be turned less frequently.
How long should compost sit before using it?
It depends. Decomposition can take two weeks or even two years. Factors that will impact the length of time compost should sit include the type of materials used, the amount, and how often the compost needs to be turned. You will know your compost is ready to be used when is cool, turned into a rich brown color, and has decomposed into small particles like soil.
Do you water compost every day?
No, you do not water compost every day. However, in hot and dry weather, frequent watering will be necessary, around once weekly.
Read Next: The 9 Best Composters of 2024, Tested and Reviewed
Read the original article on The Spruce.
