4 Steps to Nailing a Manicure on Your Own

Courtesy
The price of nice nails doesn't and shouldn't have to be at the expense of the hard-working technicians. This week's viral article from The New York Times, exposing the conditions of many nail salons in Manhattan, certainly proved to be eye-opening in terms of how the employees are mistreated, exploited, and severely underpaid. (For example, many salon owners require the workers to pay them $100 just to work on a $35-a-day salary.)
While awaiting a resolution and continuing to research the salons that do have fair paying practices, you can take your nail beds into your own hands and step up your at-home lacquer game. Here are four easy steps to nailing a DIY manicure.
RELATED: A GIF Guide to Creating a Watercolor Mani
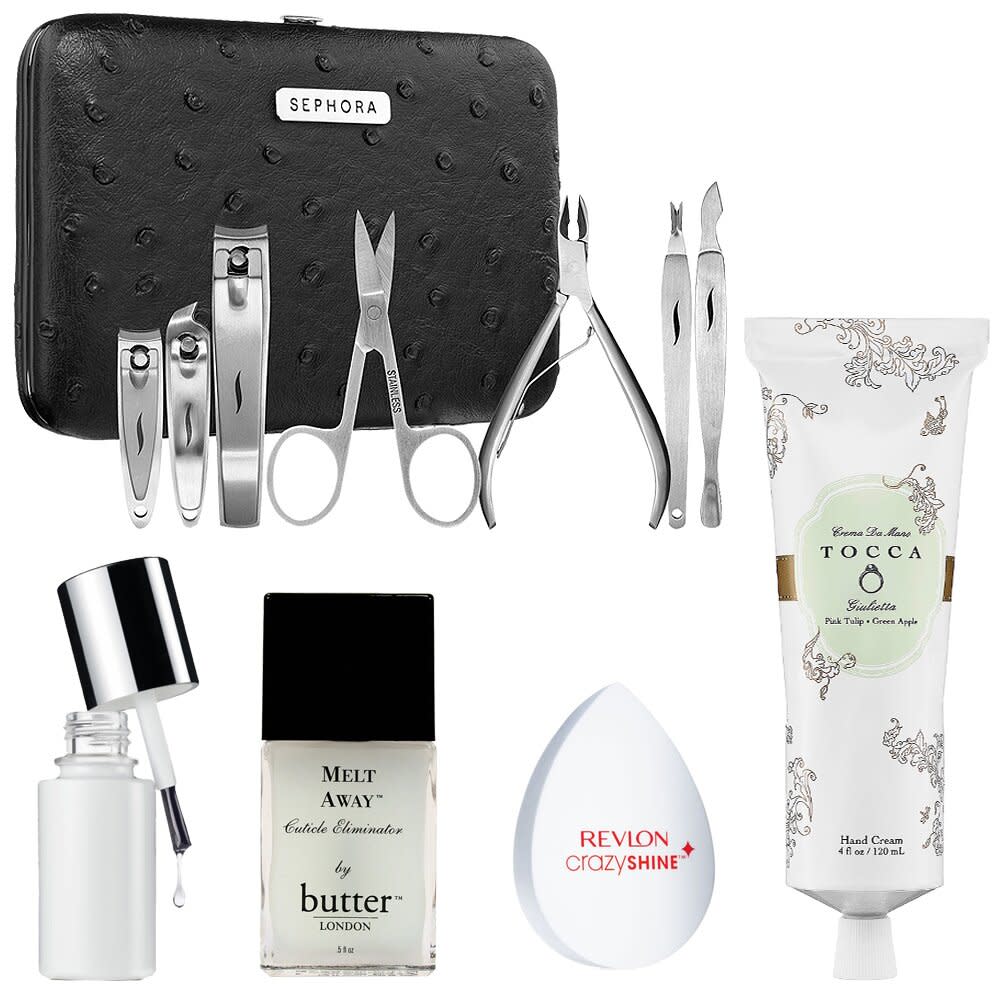
1. Begin by tending to your nail beds with Sephora's all-in-one manicure kit ($30; sephora.com). Sweep on a cuticle eliminator like Butter London's ($19; butterlondon.com), and use a a pushing tool to reduce them. Only trim the areas that cannot be pushed back.
2. Lacquer tends to adhere better on a smooth nail bed, so use a buffing tool like Revlon's Crazy Shine ($4; ulta.com) to remove the ridges and prep your digits.
RELATED: How to Stop Biting Your Nails
3. After a layer of Clinique's Base Coat ($13; nordstrom.com), which can also be used to finish, allow your nails to dry, and follow with your favorite lacquer. We recommend working in thin, buildable layers, and waiting a few minutes before applying your next coat to prevent smudging.
4. Allow your nails to dry slightly before applying a layer of top coat, and make sure to swipe the brush across your tips to seal the free edge. From there, you can hit them with a blast of the blow-dryer, or apply Zoya's Fast Drops ($16; zoya.com) to speed up the drying process.