Beginners guide to wildlife photography

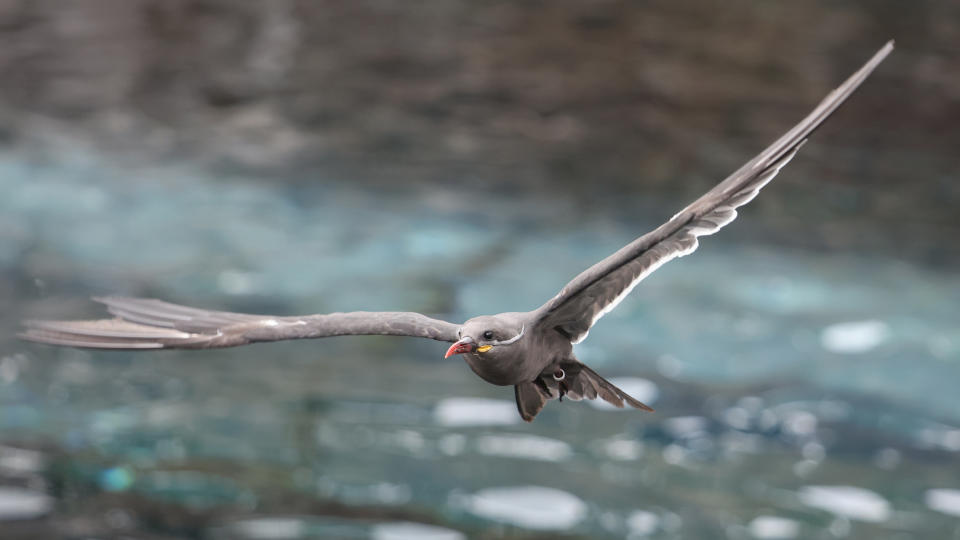
Wildlife photography can be extremely rewarding, but also tricky and time consuming. There is an element of luck to it as you're photographing an object that you can't control or anticipate, so a lot of the time it can be a case of being in the right place at the right time – but that's what makes it exciting!
With wildlife photography, you'll never get the same shot twice, so it's that much better when you do finally get the shot you've been wanting. However, it's not as simple as just going outside and having animals flock to you, begging to be photographed (unless you’re in a Disney film). So, knowing where to find your subjects, and also which camera gear and settings to use, can make all the difference in getting amazing wildlife shots.
In this guide we're going to cover all the basics of wildlife photography to get you started – including features to look for when choosing the right camera for you, lenses that are best suited to wildlife photography, which settings to focus on for sharp images, knowing the habits and locations of your subject so you have the best shot at finding them, how to master tricky lighting conditions, and some must have accessories to make shooting a whole lot easier.
For more in-depth information about cameras and wildlife photography, check out our guide on the best wildlife photography cameras.
Alternatively, if you're into stargazing, then our beginners guide to astrophotography will show you everything you need to know about capturing the wonders of the night sky.
Choosing the right camera

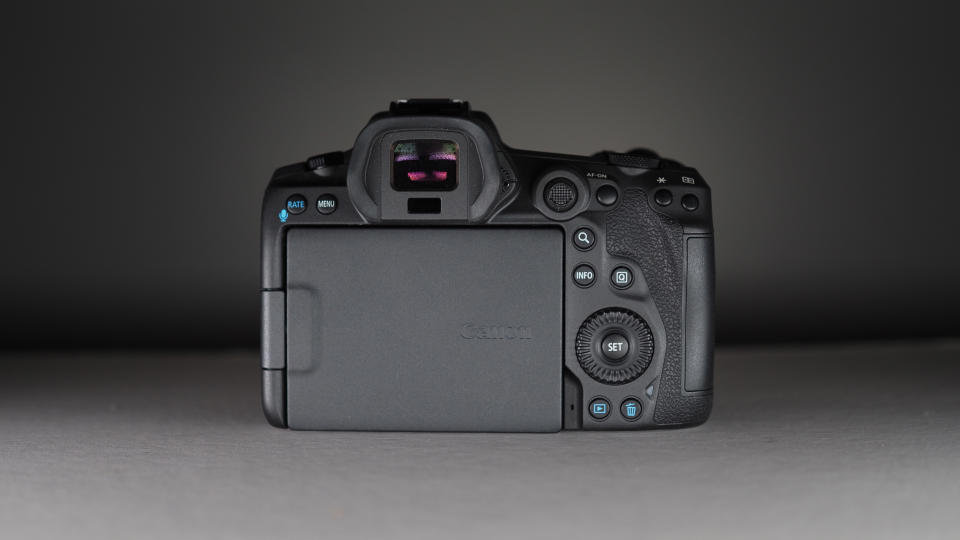
The right camera can make all the difference when it comes to wildlife photography, as not all cameras offer the same features and capabilities, so it’s important to know what to look for. A big factor when choosing your camera is the speed of it – essentially, how many frames per second can it shoot?
What we’re about to tell you isn’t exactly groundbreaking news here, but – animals move. And they move suddenly and often quite quickly, so having a fast camera that can shoot at a high frames-per-second rate is going to be very beneficial. This’ll enable you to capture more images of your subject before it disappears.
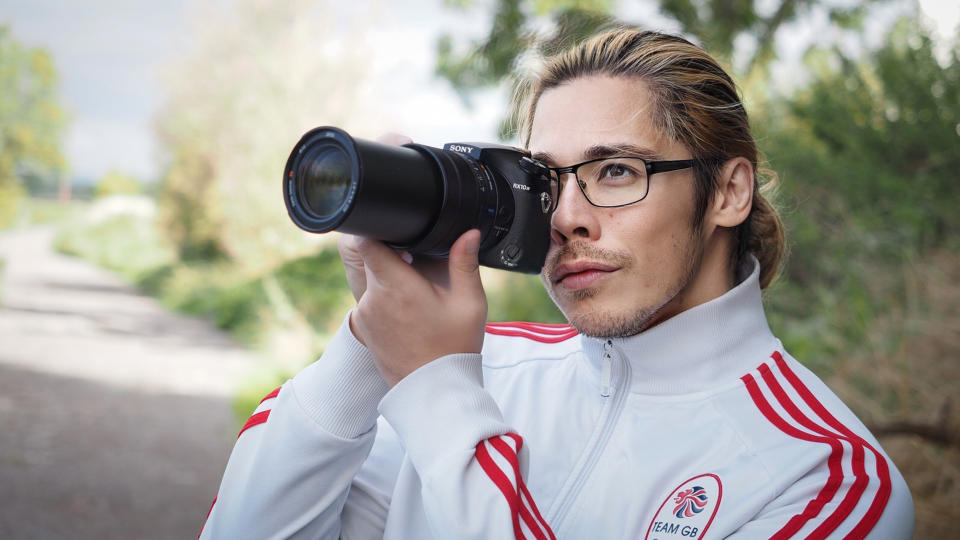
Another thing to consider is the autofocus (AF) capabilities of a camera. Many newer cameras now have animal eye detection and tracking, with some even having bird AF. This means the camera will detect and track the animal’s face and eyes and maintain pin-sharp focus on them wherever they move to in the frame. This is an invaluable feature and something you should definitely make sure a camera can do if you’re looking to start doing wildlife photography. We highly recommend the Sony Cyber-shot RX10 IV as it's got a speedy AF, impressive 25x zoom range, and is great for both wildlife and all-purpose photography too.
Another cool feature worth looking out for is silent shooting. This is because the noise of the shutter could be enough to scare animals off.
Lenses

The best lenses for wildlife photography are those with a longer focal length and wide aperture (so, naturally, the more expensive ones). Zoom lenses are generally preferable over prime lenses, so you can zoom in and out accordingly as the subject moves without actually having to move yourself.
Anything over 200 mm would be good for wildlife photography, but many professional photographers use lenses up to 600 mm and beyond. Longer focal lengths are better for this type of photography because not only are the subjects usually far away, but you’ll actually want to keep your distance so as not to spook the animals.
You also want a fast lens which has a lower aperture as this will enable you to shoot at a faster shutter speed to avoid blurry photos in low light conditions. Many telephoto lenses have an aperture of f/4, but we’d really recommend getting a lens that can go down to f/2.8 if you can.
Camera settings


To capture wildlife successfully, there are certain settings you’ll need to use to your advantage in order to get the shots you want. The first thing to do will be to put your camera in drive/burst mode. Depending on your camera’s fps rate, it’ll take multiple shots with one press of the shutter button, making sure you get plenty of images of your subject.
Then, if your camera has it, set your camera to continuous autofocus and switch over to animal eye detection and tracking. You also want to make sure your shutter speed is fast enough, otherwise you’ll end up with hundreds of blurry images.
If you’re not confident with settings yet, particularly if the lighting conditions keep changing, you can put your camera into shutter priority and it’ll set the aperture and ISO automatically.
Know your subject

It’s all well and good knowing which subject you want to photograph, but if you don’t know where or when to find them, then you’re likely not going to get very far. This is where research pays off. It’s important to know the behaviors and habitats of your chosen subject, so you know what time of day they’re around and where they’re likely to be. However, even then there’s no guarantee you’ll see them, so you do need a lot of patience for this type of photography.
If you just want to get the hang of photographing animals before you head out to find them in the wild, then to begin with you could go to a zoo or animal sanctuary. Another great location would be any local wildlife reserves near you, so be sure to check them out. You could even just set up a bird table in your garden and photograph them from a window.
Mastering lighting conditions

Another aspect of wildlife photography to take into account is lighting. Not only will you be outside where the lighting is unpredictable at the best of times, but many animals only come out at dawn or dusk. With this in mind, you’ll need to set your camera up for low light scenes and be able to change your settings as everything gets lighter or darker.
Now, this is why having a fast lens will help you as you’ll be able to open up your aperture to enable faster shutter speeds in darker conditions. This is where you’ll really see the difference between an f/4 lens and an f/2.8 lens. If you’re not that confident with changing your settings according to the lighting just yet, set your camera to shutter priority to begin with.
Must have accessories

A tripod isn’t an absolute necessity, but there are situations where having one could be very handy. If there’s a particular composition you’re looking at and you’re waiting for an animal to go into the frame, then the first thing you’re going to need is a whole lotta patience, but a tripod could be useful here so you can just set the camera up and wait.
If you’re going to be following the animals around as they move, then having to constantly adjust a tripod on the go would be more hassle than it’s worth. To take the weight of the camera off your hands, a monopod would be a good buy here as you’ll still be able to move the camera around freely without having to actually hold its weight.
You may also want to consider some sort of neutral clothing as well. You don’t have to go full on camouflage, but we’re not sure the animals would appreciate any bright colors or loud prints – so try to blend in with the surroundings as much as you can so you don’t scare them off.
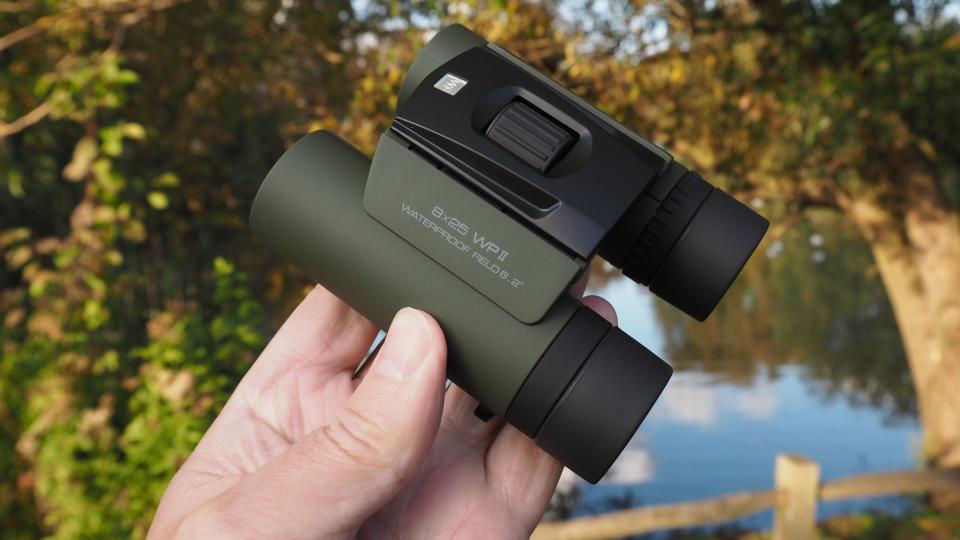
Another potential helpful accessory would be to invest in a pair of the best binoculars to help you spot your subject. These'll help you find smaller animals such as birds easier and will also pinpoint the location of the animal you want to photograph.