How To Build an Epic Snowman With Just a Few Simple Steps

Family building a snowman
"I'll be back again someday," says Frosty the Snowman. And that someday is here for many of us around the country.
Snow is flying around like crazy (here in Michigan, anyway!) and that means it’s time to kick off the winter months enjoying hot chocolate, sledding and, of course, building a snowman.
I truly believe there are some things you should never outgrow, and building a snowman is one of them. My teenagers and I still build at least one every year (we still can't resist a good snow day!).
Shoveling sidewalks will most likely lead to a snowball fight and under perfect conditions, will take us to the big hill up in the next town for an afternoon of sledding. But, without a doubt, the one thing that makes my heart skip is taking one of those perfectly packed snowballs and rolling (and rolling and rolling) it around the yard, until we have three larger snowballs that will create the “most epic” snowman (according to my boys) that you have ever seen.
Not sure how to get a snowman started? Keep reading to find out how to build a snowman—and become a snowman-building pro this winter!
Related: You'll Glove These 75 Funny and Sentimental Snow Quotes That Will Warm Your Heart!
How To Build a Snowman
Building the perfect snowman depends on a few different factors, and then requires following some basic steps.
Make sure you have the right type of snow

iStock
What kind of snow you have on the ground is by far the most important thing when you are building a snowman.
Fluffy, dry snow will not stick together long enough to create a good hold. You really want snow that is a bit wet and heavy—becoming workable and pliable.
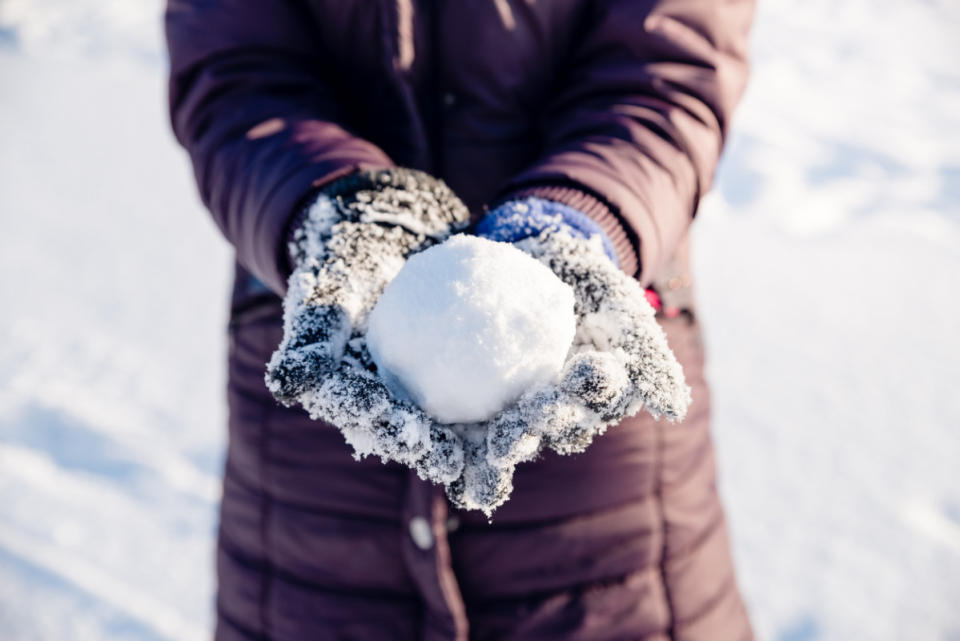
To test your snow, grab a small pile into your hand and pack it together. If it sticks well, try adding another handful to it and pack again. And if that stays together, you are ready to rock (and roll)!
The amount of snow that has fallen will determine the maximum size of your snowman too. If you are building a small one, then just an inch or two of the fresh white stuff will be enough, but if you decide to “go big, or go home,” then you will need quite a few inches blanketing your area before you begin.
Remember, you have to roll that giant snowball around the yard, so the more snow on the ground when you begin, the better.
Placing your snowman on a flat surface, and in a shady area, will keep him looking his best, longer.
Related: Avoid Going Stir-crazy With 125 Indoor Ideas To Do Even When It’s Cold Outside
Start with a perfectly-packed snowball

iStock
After you have established that enough snow has coated the lawn, and the quality is optimal, it’s "go" time.
Plan ahead to decide how large you want your snowman. After all, once the rolling starts, the balls can get large and heavy.
You will need three different sizes of snowballs. The bottom is the largest, the middle is slightly smaller and the top (the head) is the smallest.
Start by grabbing a handful of snow and pack it tightly, as if you are making a perfectly packed snowball. Smooth it out and add some more. When the snowball gets to be around volleyball size, it’s time to get rolling!
Ready, set, roll!

iStock
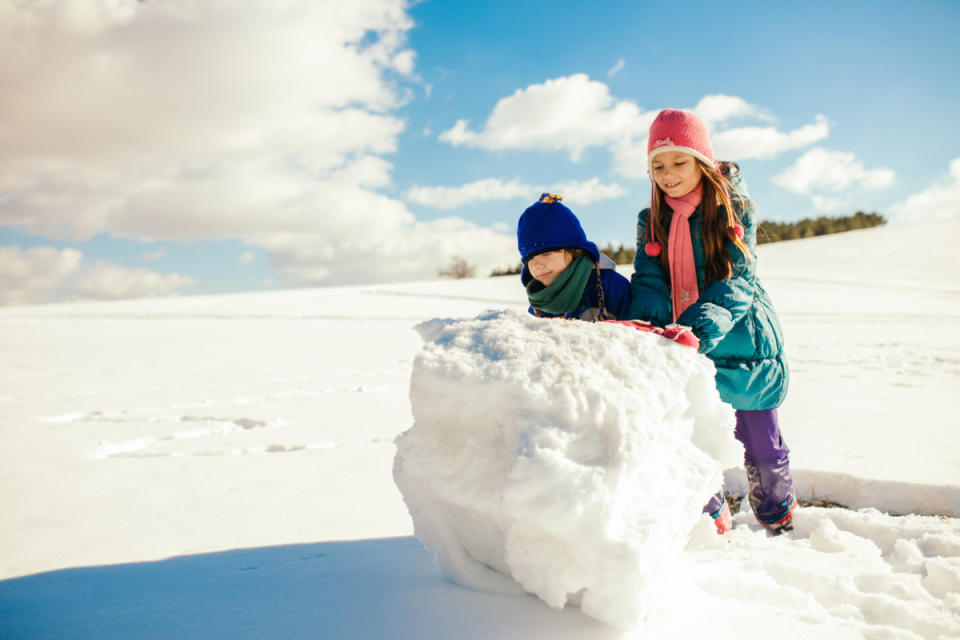
Lay the large (volleyball-sized) snowball gently on the ground and start rolling it around. In the right type of snow, it will grow in size quickly.
Occasionally, stop rolling in order to work on rounding the ball out. The first ball will be the base and should be the largest, so keep rolling until you have the ideal size you are trying to achieve.
Next, make your middle section, starting off in the same fashion that you made the base. The middle should be about half the size or so of the base.

iStock
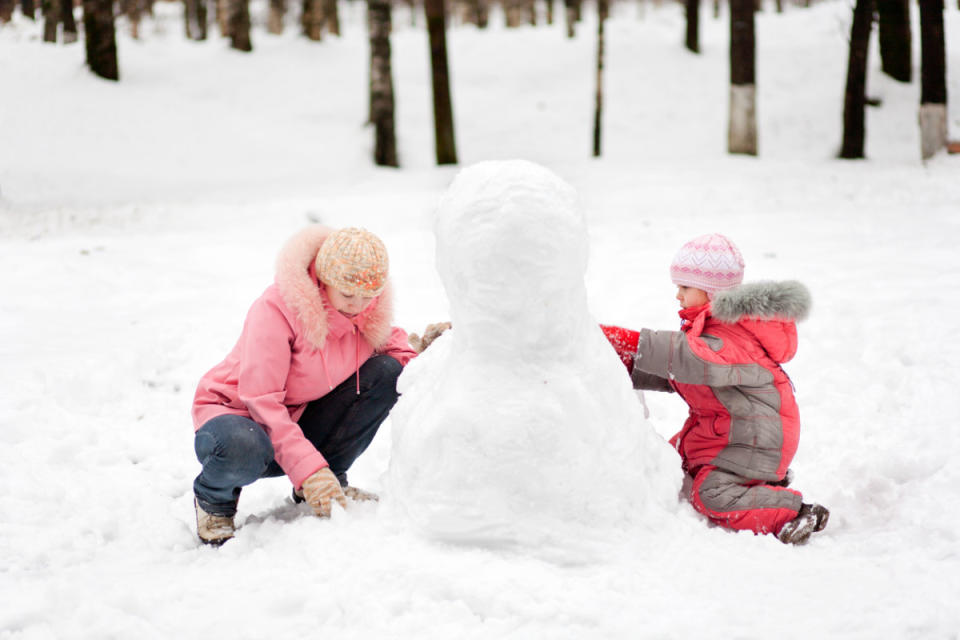
When the middle becomes the optimal size, pick it up and place it on top of your base. Once the middle is set, pack a little snow around where the two meet, smoothing it out with your hands. This will secure the two sections together.
Then repeat the same steps to create another snowball (the top/head), about half the size of the middle section. Rub it smooth, then place it on the very top, securing it with a bit of snow.
Related: Between Winter Woes and Wonder, We Cover It All With The Greatest 125 Winter Quotes!
Decorate and name your snowman

iStock
Rolling giant balls of snow around the park or your yard is fantastic fun! And after you have the snowman stacked, he is ready for the finishing touches.
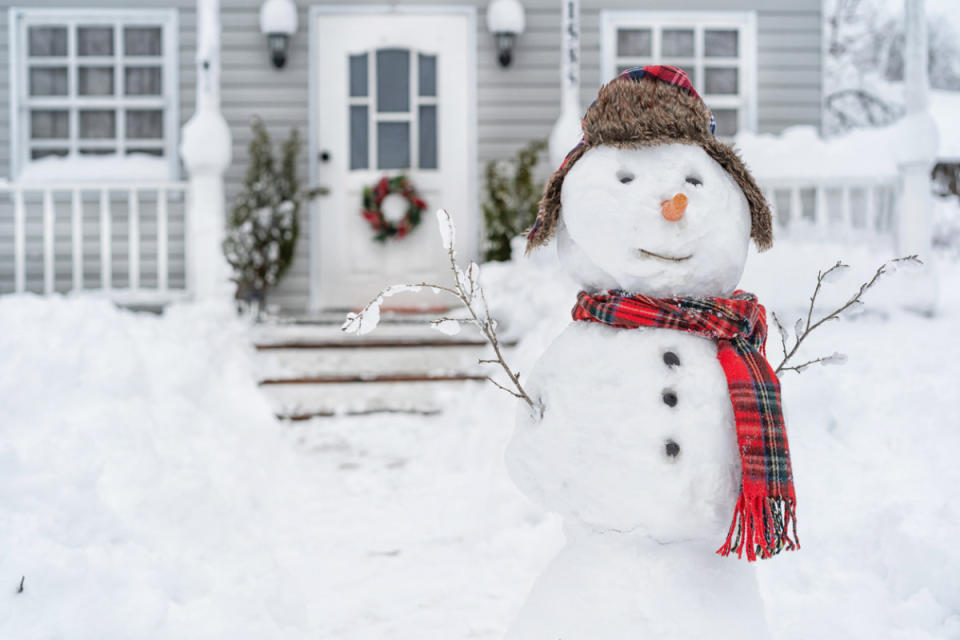
Be creative when bringing your snowman to life. You can use sticks for arms and a carrot for a nose. Rocks, acorns or even leftover craft items make great eyes and mouth options. And feel free to add some clothing to your snowman—like a scarf and hat—for a playful, yet refined look.
Don’t forget to give your snowman a name—"Frosty the Snowman" is always a favorite!
Related: 65 Crock Pot and Slow-Cooker Soup Recipes That Should be on Repeat This Fall and Winter
What to do when your snowman starts looking sad
If it’s a really snowy winter, it's easy to keep Frosty looking fresh. Add as much snow as needed, rounding out the edges again, until he is looking as good as new. You may need to readjust his eyes and arms during this process. If winter temps stay consistent, it is possible that Frosty will be around to keep you company for quite a while.
But what if there isn’t enough snow and temps are warming? Well, my boys tell me that taking Frosty down is just as fun as building him. Over the years they have come up with some pretty creative ways to finish Frosty off—their favorite way involved tackling him like football players!
Afterward, they use the pieces in an "epic" (their favorite word) snowball fight. Lessons have been learned in doing this though—make sure to remove all of the sticks, stones and anything else that's pokey before tackling Frosty!
Super simple, memory-making fun can be had while building a snowman. And if you have to live in a cold, wet and snowy mess, you might as well make the best of it and build an "epic" snowman.
Next up, 150 Winter Instagram Captions for All Your Coolest Pics This Snowy Season
