How To Clean That Hard-To-Reach Spot Between Your Oven Window

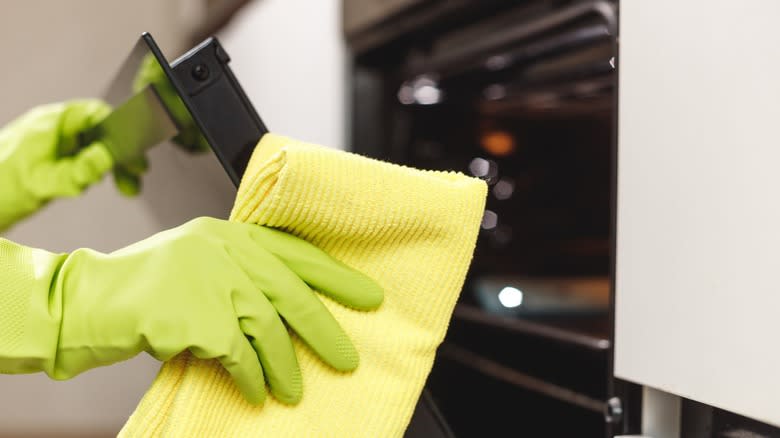
If you're like most of us, you probably pay attention to cleaning the inside and outside of your oven doors, but the area in between often gets overlooked. It's a tricky spot to reach, and many don't even realize it can be cleaned. Fortunately, there's a method to clean this hard-to-reach space effectively. The key is to access the area between the glass panes through the slots at the bottom of the oven door.
To start, you'll need to remove the oven's bottom drawer, which will allow you to see the opening at the lower edge of the oven door that leads to the space between the glass panes. For the cleaning process, assemble a long, flexible cleaning tool. A thin cloth attached to a rigid wire or a straightened coat hanger works well. Secure the cloth to the wire with rubber bands. Next, moisten the cloth with your preferred cleaning solution, like a mix of vinegar and soap or a baking soda paste.
Carefully insert the cloth through the slots and gently move it back and forth and up and down on the glass panes. Once you've wiped down the area, replace the dirty cloth with a clean, damp one to remove any cleaning solution residue. Finally, use a dry cloth to remove any remaining moisture. This method should help you remove light to moderate dirt buildup, but if the grime between your oven glass is particularly stubborn, you may need to disassemble the oven door.
Read more: What Happens If You Accidentally Eat Mold?
Disassembling The Oven Door For Thorough Cleaning

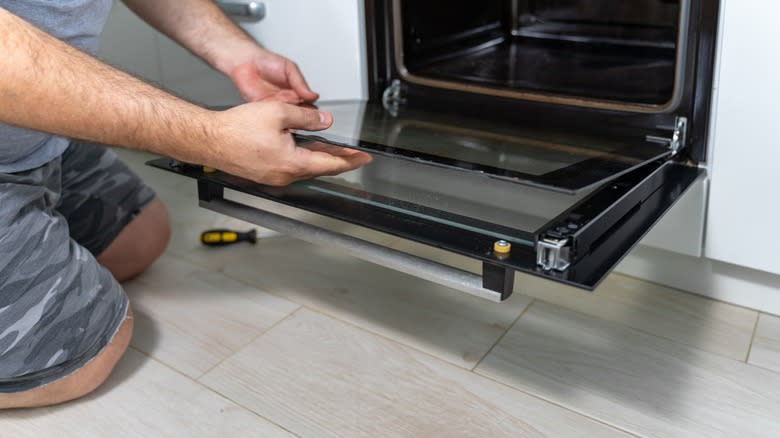
Disassembling the door allows for a more thorough cleaning but requires effort and care. To start, ensure your oven is completely cool and unplugged or turned off. Open the oven door fully to access its hinges. You might find a small latch or lever on each hinge. Flip these latches or levers into the unlock position. Now, gently close the door partway and lift it off the hinges. Be cautious, as the door can be heavy.
With the door removed, lay it on a flat, stable surface lined with a towel to prevent scratches. Locate the screws along the door's interior edge, and using a suitable screwdriver, remove these screws and keep them in a safe place. As you remove the screws, take note of how the door is assembled. It can be helpful to take pictures at each step to ensure you can reassemble it correctly.
Once the screws are removed, you should be able to gently separate the door panels and access the space between the glass panes directly. Clean the glass using a glass cleaner and a soft cloth, then carefully reassemble the door by reversing the steps you took to take it apart. Make sure all screws are tightly fastened and the door is securely reattached to the oven.
Read the original article on Tasting Table.
