How to Germinate Seeds Indoors: Gardening Pros Share Their Top Tricks for Success
When you’re eager to get your garden going in the spring, but it's too cold to plant outside, starting seeds inside is a great way to put your green thumb to good use. In some cases, it may also be necessary for plants that have too long of a growing season to be sowed directly outdoors. Thankfully, seed starting is easy — if you have the right tools and knowledge! We asked gardening experts how to germinate seeds indoors and the secrets to healthy seedlings. Read on for their favorite DIY ways to start seeds.
Start by gathering your seeds
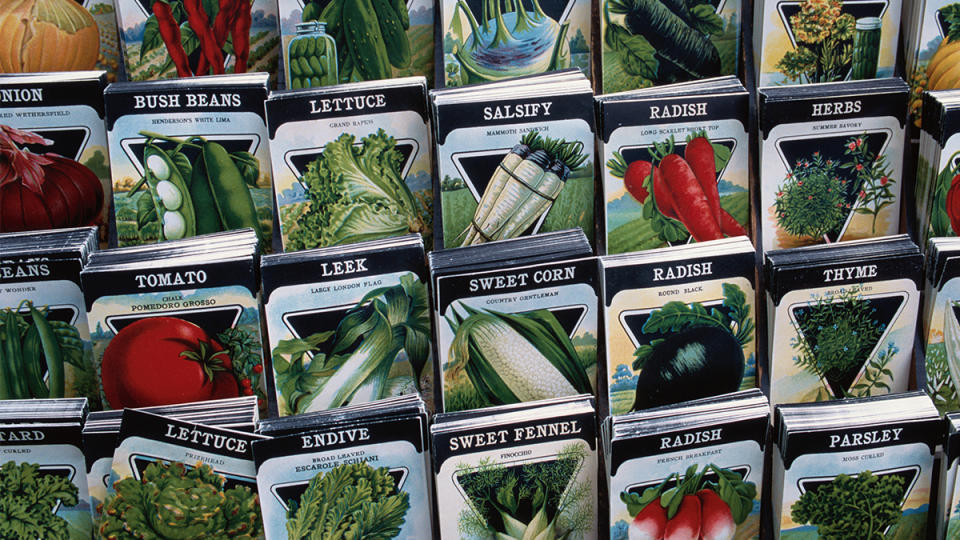
Holding onto extra seeds from a previous gardening season is a great way to cut down on costs. “Most seeds are viable for 3 or more years and more if stored in a Ziplock bag,” shares Gary Pilarchik. co-author of Growing an Edible Landscape . Storing them in a cool, dark and dry place can also prolong the life of your seeds. (Note: Some seeds, like chives, leeks and other plants in the onion family, have a shorter shelf life.) Don't have enough seeds on hand? Consider participating in a seed swap!
Secrets to seed starting success
To ensure you end up with healthy seedlings for transplanting outdoors later on, follow the expert advice below.
Give them enough light
“Without strong light, seeds germinate but grow oddly tall, lanky, spindly and are just not healthy plants,” says Pilarchik. You may be tempted to simply place your seedlings by a sunny window, but in most cases that’s not enough light.
The solution: “A basic lighting system of white LED lights is needed and the light should stay on 14 hours a day,” adds Pilarchik. Plant grow light systems can be expensive, but a basic white LED shop light can be used for a more budget-friendly option. Just be sure to place the lights 2-3 inches above the seedlings.
Don't start too early
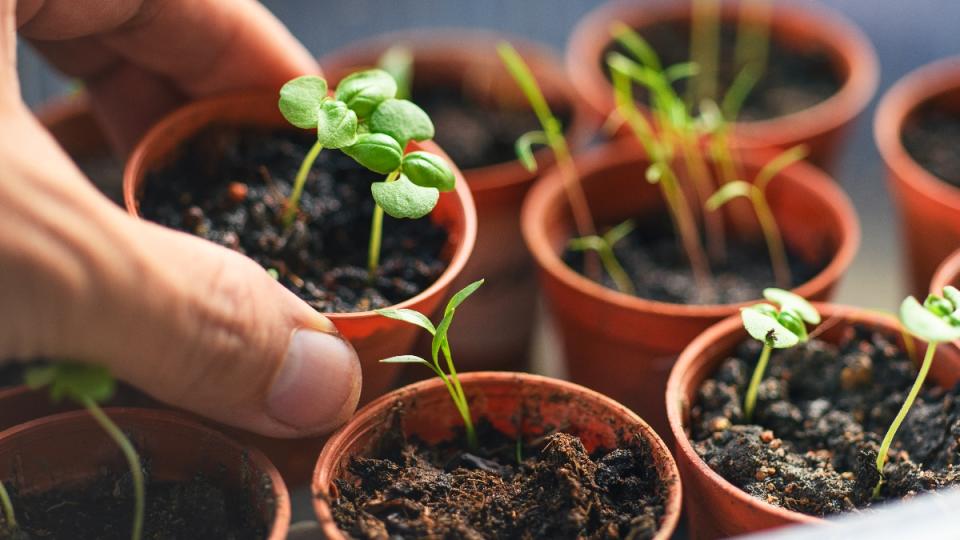
It’s best to wait until the recommended indoor sow date before you begin, which is generally 6 weeks before your region's last frost date. (Not sure when the last frost is in your area? Check here).
“To avoid overcrowding and overwhelm it's best to stick to the suggested sowing date unless you have a well-lit and well-ventilated space to care for numerous seedlings,” says Christina Chung, author of The Layered Edible Garden.“Seedlings, especially ones like tomatoes and squashes that prefer warmer conditions, that are started too early may struggle in smaller pots while waiting to be transitioned outdoors. Plan for ‘potting up’ or transplanting to larger pots, especially for quick growing plants like squashes, tomatoes and many annual flowers.”
Stick with seed starting mix
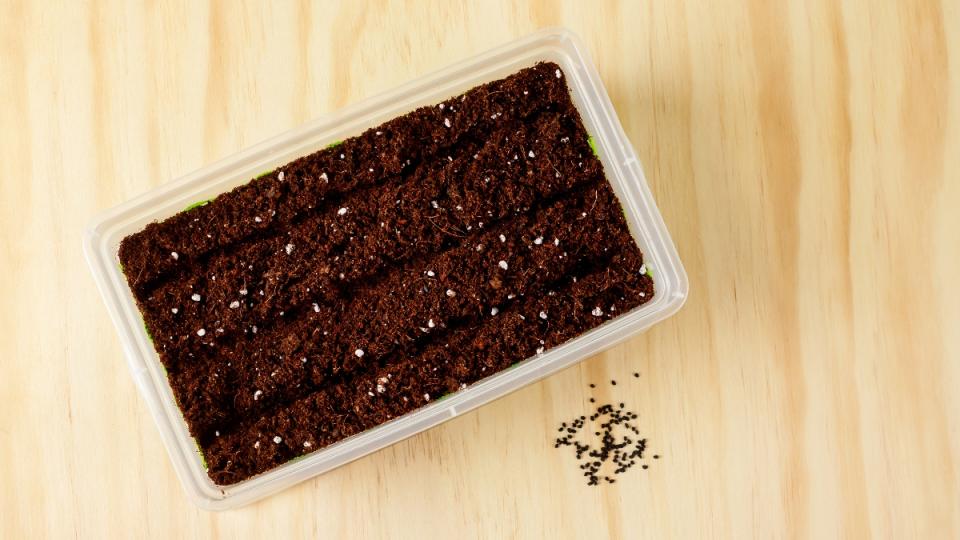
It's tempting to use leftover potting soil for your seeds, but the pros advise against doing so. Instead, opt for premade seed starting mixes labeled "soilless media" or “seed starting mix.” “These products differ from heavy potting soil and garden soil as they are usually sterile, free of diseases, lightweight and are a homogenous mix of fine particles that support early development and growth,” explains Chung.
One note: Some bagged starting mixes contain the eggs of fungus gnats, which can hatch indoors. For this reason, Pilarchik suggests sterilizing the mix before using. Hydrating it with boiling water (instead of room temperature) will kill any eggs that are present.
Looking to create an organic mix yourself? “You can make your own DIY seed starting mix by using 4-parts fine sphagnum peat moss and 1-part fine grade vermiculite,” adds Pilarchik. “These products can initially look expensive in bulk but it is the most cost-effective way to make a lot of seed starting mix, if needed.”
Other helpful hints:
Once seedlings start growing, use a water-soluble fertilizer to provide them with nitrogen, phosphorus, potassium and other nutrients. “Indoor seed starts need regular feedings, and mixing a low amount of water-soluble fertilizer in the water, every other watering, is the best way to do it,” says Pilarchik.
Pick a cozy environment in your home, where temperatures are in the upper 60’s. If not possible, a seed heating mat can be used and placed under seed trays to speed up germination. (Note: a too-hot location can quickly dry out seedlings, however, so mild temperatures are best!)
“A small fan enhances air circulation to reduce the chance of stagnant air, which may lead to pest and disease issues and also helps strengthens plants,” says Chung.
Water seed starts regularly, but not so much that the soil ends up soaked. Pilarchik says the seed starting mix should be dry on top before you water.
DIY ways to start seeds indoors
Seed starting trays are a great option for germinating seeds indoors, but you can also use a variety of household items to start your seeds. Bonus: If you already have them on hand, it will save you money!
Start seeds in eggshells
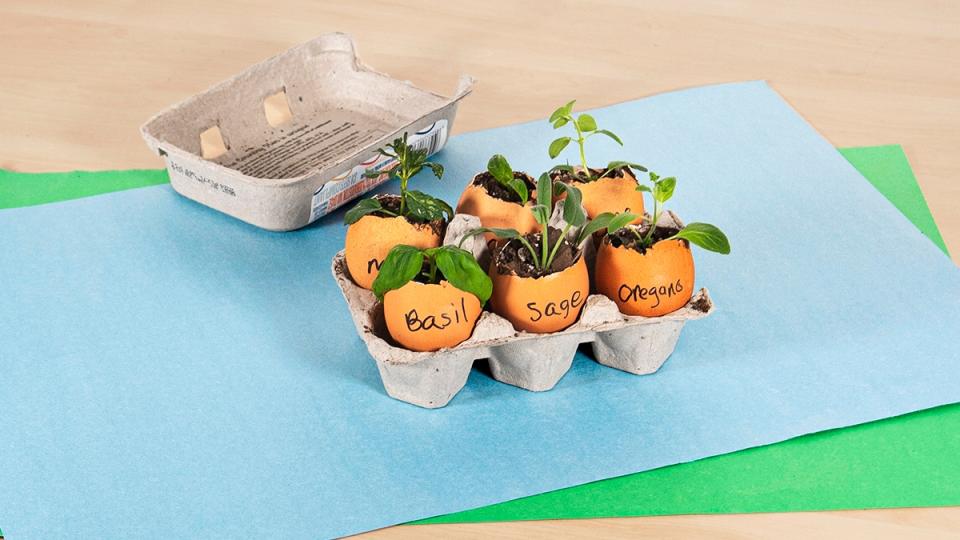
If you have leftover eggs you can’t use up by their expiration date, turn them into mini pots! To do: Crack the egg open by tapping a spoon on one end and removing the top portion of the shell. Empty out the shell then boil for 5 minutes to sanitize. Poke a hole in the bottom of the shell, then add your soil and seeds. Once the seedlings are ready to plant, just place the shell right into your garden.
A tip: “Eggshells can be used for smaller plants such as herbs but don’t do well for larger plants,” advises Pilarchik. (Click through for more brilliant uses for eggshells).
Start seeds in egg cartons
If you need to grow larger seedlings, skip the eggshells altogether and opt for their container instead! All you need to do is make drainage holes in the bottom of each well before you add your seed starting mix.
See how well this works in the video below:
Start seeds in produce containers
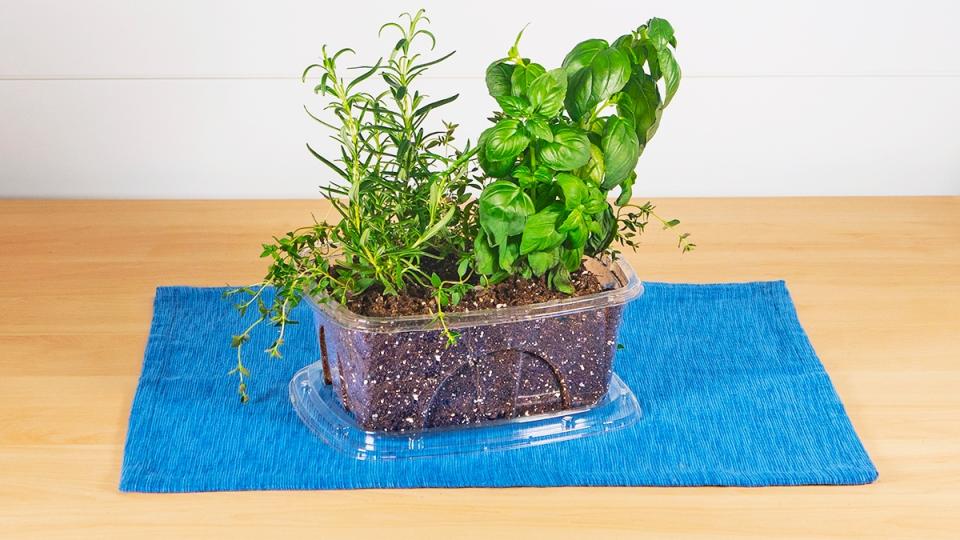
“Many food-grade household and recyclable items like clamshell fruit containers, milk jugs, yogurt containers, and takeout containers that can hold at least a depth of 2 to 3” of seed starting mix are great alternatives,” says Chung. “Ensure a few drainage holes are created at the bottom to allow for excess water to escape.”
Start seeds in plastic water bottles
“Cutting plastic water bottles in half makes a great seed starting pot,” shares Pilarchik. “The key is to make sure holes are poked in the bottom of the containers to allow excess water to drain out.” Have more extra bottles than you need for seeds? Discover other ways they can be put to use!
Start seeds in cardboard tubes
Hold onto those empty cardboard tubes after you use up a roll of paper towels. “Cutting paper towel rolls into 4- or 5-inch sections and folding the bottom inward also makes great seed starting containers,” says Pilarchik. These are especially great options because they allow for plenty of room for both drainage and root growth.
Related: 15 Brilliant Uses for Cardboard Tubes
Learn to Grow on YouTube walks through the steps of how to do this in the video below:
Start seeds in lemon rinds
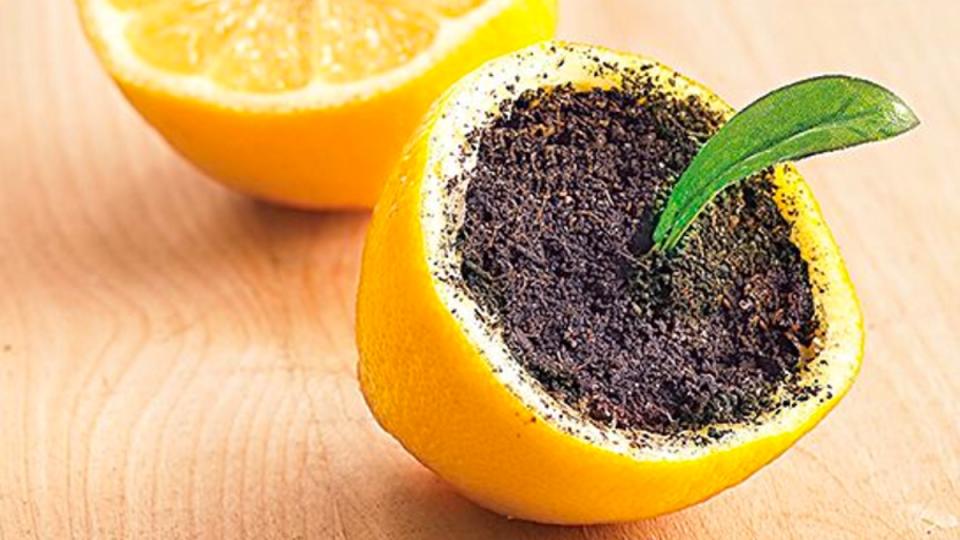
A simple organic option you can utilize for pennies: a lemon rind! Simply cut a lemon in half and remove the fruit, then poke a hole in the bottom for drainage. Fill with soil, add two seeds and water.
When it’s warm enough to move outside, plant the entire lemon “pot” in the ground. As the rind decomposes, it will compost in the soil, nourishing the plants. (This works for orange rinds too!)
Related: 20 Brilliant Uses for Orange Peels
Start seeds in foil baking trays
Store-bought seed starting trays generally come with a second layer to collect any water that drains out of the pots. If you’re going with a DIY approach above, however, head to the dollar store for an affordable alternative! “I recommend using foil baking trays or similar as the flat that holds your seed starting containers,” adds Pilarchik.
For more helpful gardening and tricks, keep reading!
Green Thumbs Are a Myth — Follow These 9 Rules To Get Your Garden Growing No Matter What
Plant Pros: 7 Genius Ways to Water Plants While You’re Away + One Hack Never To Try
Garden Pros: Attract Butterflies to Your Yard with These Easy-Care Flowers
Solve the daily Crossword
