Hairstylists' Easy Secrets to a Salon-Worthy Blowout at Home
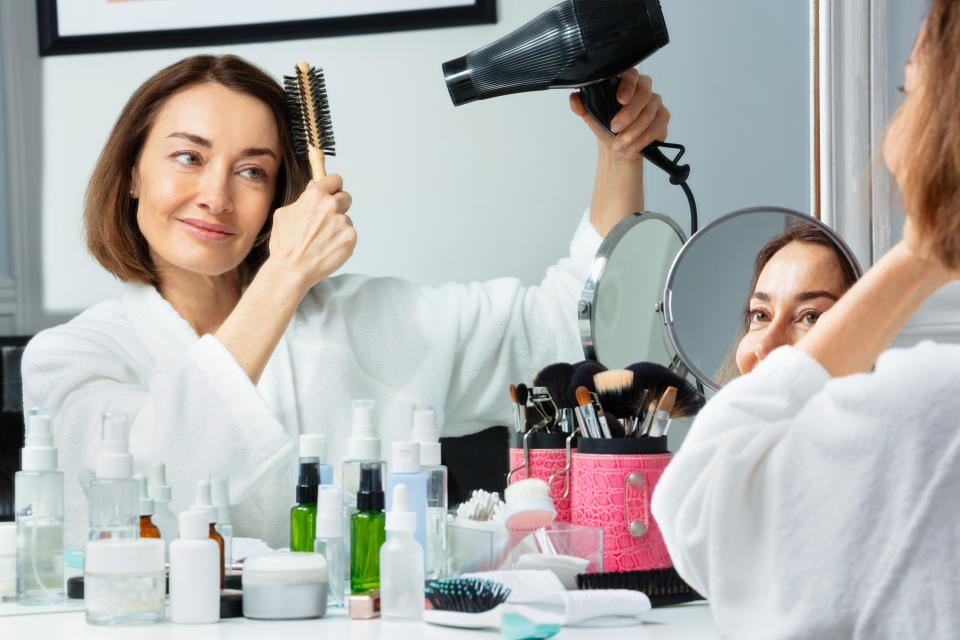
Achieving the best-ever blowout at home can feel like a major feat. That’s because there is a bit of a learning curve, not to mention it can be an arm workout from holding the dryer in one hand and a round brush in the other. And while it's tempting to surrender to the professionals (and their hefty price tag), a sleek, polished blowout is well within your grasp! With a few expert tips, you’ll manage frizz, tame flyaways and create a blowout that turns heads — without having to leave home.
Here, you’ll find the secrets stylists swear by, from deciphering the jungle of dryer settings to mastering the art of the round brush twirl. We'll also explore products specifically designed to create that coveted salon finish that won't break the bank. Read on for all you need to know about blowing out hair yourself.
The benefits of a blowout

A blowout can provide a more manageable hairstyle between shampoos, says Scott Fabian, a hairstylist at Sally Hershberger NoMad Salon in New York City. “It also gives you more control over the overall outcome of a hairstyle.” Rodney Cutler, a celebrity hairstylist, Redken brand ambassador and owner of Cutler Salons, adds that a blowout helps you achieve a sleek and straight look with added shine and volume.
Related: Is Blow Drying Hair Bad? Experts Reveal the Pros and Cons — Plus How to Prevent Damage
How to blow out medium-length or long hair
Here, the simple steps it takes to get a salon-worthy blow out at home if your hair is shoulder-length or longer.
How to blow out hair step 1: Wash and condition hair
Fabian says to shampoo and condition hair first, then squeeze out as moisture as possible, add product (more on this below), then detangle. It’s also beneficial to use a hair mask once a week in place of conditioner to treat your hair, depending on your hair concerns. One we like is Allyoos Juice Drench, which deeply hydrates hair, mends damage and adds shine.
Related: Shampoo or Conditioner First? Pros Settle the Hair Washing Debate Once And For All
How to blow out hair step 2: Apply styling products
Next, Cutler says to apply the correct prep product, as this can help prolong the results of your blowout style. If you're looking for moisture, he recommends Redken One United Leave In or if you deal with frizz, try a smoothing product like Redken Big Blowout Jelly. And if you have fine or thin hair and want to amp up the volume, reach for Redken Full Volume Mousse. Another volumizing product that also serves as a heat protectant is Davines This is a Primer, which also helps cut down on blow-dry time.
How to blow out hair step 3: Rough dry hair

For maximum volume, flip your head upside down and begin to rough-dry your hair, says Fabian. “Always rough-dry your hair to at least 70% before the styling part starts,” says Stephanie Angelone, a hairstylist at RPZL. “Taking out most of the moisture will cut your time in half, maybe even more.”
How to blow out hair step 4: Section and blow out hair
Depending on your hair type and texture, hair should be anywhere from 50-80% dry before actually blowing out hair. “Sectioning your hair is going to be the most beneficial,” says Fabian. “It may take you a little longer but the results are 100 times better taking your time and using clips and small sections." He advises using a round brush or a paddle brush to smooth out each section. “For a voluminous blowout, elevate the sections straight up from the root — if you want less volume, direct the hair down.”
Cutler’s tip is to use a nozzle on your blow dryer to help direct the heat, focusing on roots to ends. And it's best to use a medium heat setting to limit heat damage when doing multiple passes with a brush and dryer. Whether you use a round brush or a boar bristle brush, the smaller the brush you use, the tighter the curls will be, he adds. To create voluminous waves while blowing out hair, twist hair around a round brush at mid-length pulling hair away from the head. Once hair is all twisted, blast with heat for 5 seconds, then unravel to reveal gorgeous waves.
And “if you're going for a smooth, polished look, blow dry it with a good ceramic round brush,” says Angelone. One we like is Olivia Garden Ceramic + Ion Thermal Hairbrush. “After hair is dry brush through with the RPZL Polisher Brush to create shiny, smooth detangled hair.” If you want to boost volume post-drying, she recommends sprinkling RPZL Volumizing Powder at your roots for extra lift and hold. Then, set hair with a spritz of hairspray.
To see an in-depth how to blow out hair tutorial, watch the below video from hairstylist and YouTuber Brad Mondo.
How to blow out short hair
“For short hair, it's all about [using] product,” says Angelone. “Short hair tends to fall limp, so always use a good volumizing mousse when the hair’s damp.” The same blow-drying technique from above can be used, but Fabian suggests tucking hair behind the ear while it's still hot from the dryer after blow drying. This "will create a more sleek, modern look and avoid the round newscaster effect,” he says.
And as far as tools, Cutler recommends those with short hair use a Denman or paddle brush to “wrap dry” the hair on the entire head to create a smooth finish. “Using a small round brush, you can get a nice lift at the root while providing texture at the ends,” he adds.
Related: How to Curl Short Hair: 5 Easy Techniques That Make Strands Look Thick and Bouncy
How to preserve a blowout
Don't let all of that hard work to achieve a voluminous blow out go to waste, so here are a few easy tricks that make it last.
1. Use style-prolonging products
Products applied in the days post-blowout can make a real difference in the longevity of your style. “A great product to revive your blowout the next day is Living Proof Full Dry Volume and Texture Spray," says Fabian says. And what can help for second- and third-day hair is Cutler's favorite, Redken Dry Texture Spray, which refreshes hair and adds texture.
2. Protect hair with these accessories
If you're worried about your style suffering while you sleep, there are a few genius hair tools that can help. Placing hair in a sleeping scrunchie, like RPZL The Aurora, can help the style last longer. To use it, you just put your hair into a high ponytail, then pull The Aurora over it with the arch facing in the front. From there, loop your ponytail around it in a forward motion. Wrap your hair around it until the ends are tucked in. Wake up, take it down, and your style is ready to go.

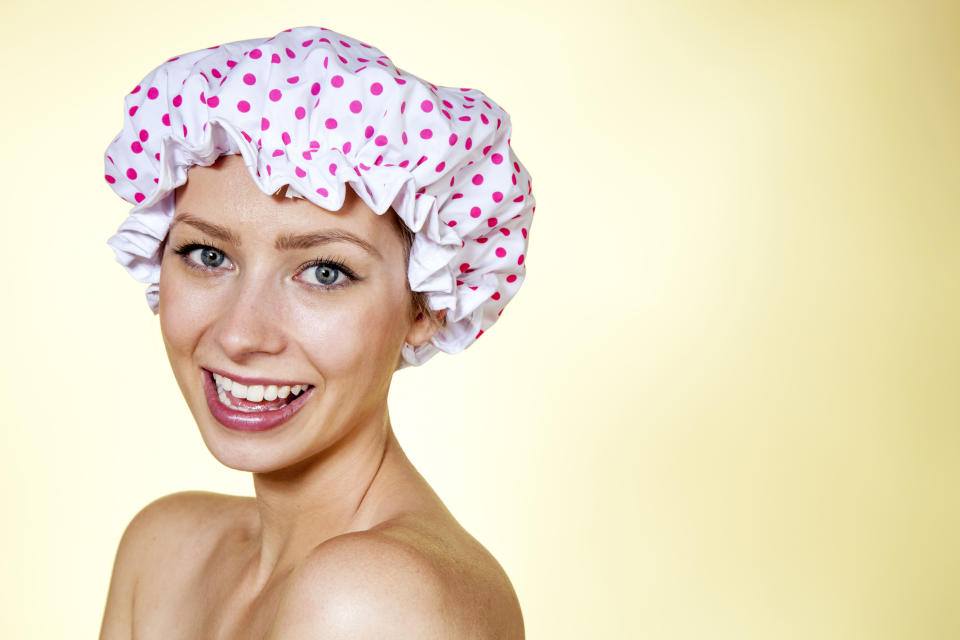
And when it comes time to shower, but you want to keep hair dry, a good shower cap comes in handy. A terry cloth-lined one, like Auban Shower Cap, ensures hair won't get wet and your style stays looking polished while showering.
3. Sleep on silk
Last but certainly not least when it comes to preserving your blowout an extra 48 hours (or more!), it’s all about a silk pillowcase, like Quince 100% Mulberry Silk Pillowcase. Swapping to a silk pillowcases can help you maintain a smoother, shinier, and less frizzy hairstyle by reducing friction, retaining moisture in your hair and minimizing tangles. It's especially beneficial for those with delicate hairstyles or with hair types prone to dryness and frizz. They can also help even if you have straight hair because they reduce creasing. Whereas sleeping on a cotton pillowcase can leave sleep creases on your hair, the smooth surface of silk reduces the formation of these creases, helping your hairstyle to stay both smooth and looking polished.
If you love your current pillowcase, you can get the same benefits by sleeping in a silk or satin bonnet. It's also a great option to travel with! One to try: YANIBEST Satin Bonnet.
For more hair styling tricks, click through these stories:
How To Curl Hair With a Straightener: It Sounds Crazy But It Works Like a Charm
At-Home Keratin Treatment Gets You Silky, Shiny Hair for $100s Less Than at the Salon
Hairstylists Reveal The Best Foolproof Ways to Keep Hair Straight Overnight
