Sheet Pan Buttermilk Jammy Pancakes Recipe
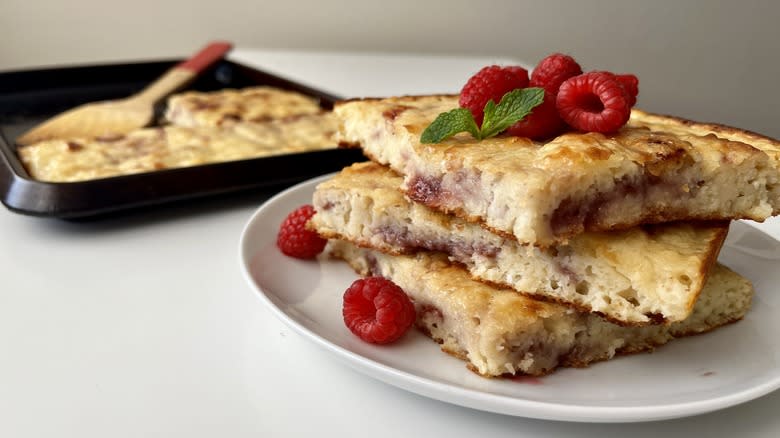
Making pancakes in a pan can be pretty time-consuming, to the point where the cook may have to eat cold leftovers by the time they're done feeding everyone else. With this recipe from developer Tess Le Moing, however, you can make one big pancake (with a pretty jammy swirl, to boot) in a sheet pan, something that she tells us "allows you to make a large batch of pancakes all at once [and] saves you time when cooking for a crowd."
Saving time and effort isn't the only benefit that sheet pan pancakes provide, however. Le Moing tells us, "You'll also get evenly cooked, uniform pancakes every time," and says this means there's "no need to worry about uneven heat or overcooking [or] under-cooking them." The very best reason of all for learning to cook pancakes in a sheet pan, however, is the fact that, as Le Moing says, it makes "less mess compared to cooking them on the skillet or griddle."
Read more: 25 Most Popular Snacks In America Ranked Worst To Best
Gather The Ingredients For These Sheet Pan Buttermilk Jammy Pancakes

The pancakes themselves are made from flour, sugar, baking powder, baking soda, salt, eggs, butter, vanilla, and, of course, buttermilk. Le Moing also adds a swirl of jam (you can use whatever fruit you fancy) and a quick maple butter made with, as the name implies, maple syrup and some more butter.
Step 1: Heat Up The Oven

Preheat oven to 425 F.
Step 2: Prepare A Sheet Pan
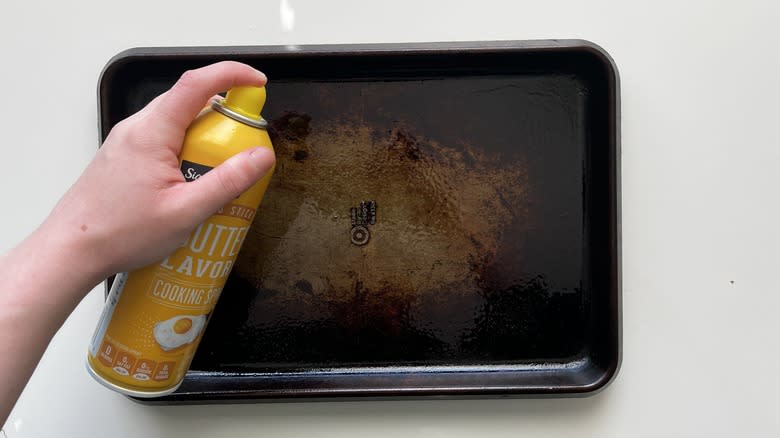
Grease a 9x13-inch baking sheet with cooking spray or butter.
Step 3: Sift The Dry Ingredients

Sift flour, sugar, baking powder, baking soda, and salt into a large bowl.
Step 4: Mix The Milk, Eggs, Butter, And Vanilla

In a separate medium bowl, whisk buttermilk, eggs, 4 tablespoons melted butter, and vanilla extract.
Step 5: Combine All Ingredients For The Batter

Make a well in the center of the dry ingredients and pour in the wet ingredients. Gently stir until just combined. The batter should be lumpy with a few streaks of flour. Let the batter sit for 10 minutes.
Step 6: Pour The Batter Into The Pan

Pour batter into the prepared baking sheet and smooth out the top.
Step 7: Dot The Batter With Jam

Drop spoonfuls of jam all over the pancake batter.
Step 8: Marble The Jam And Batter
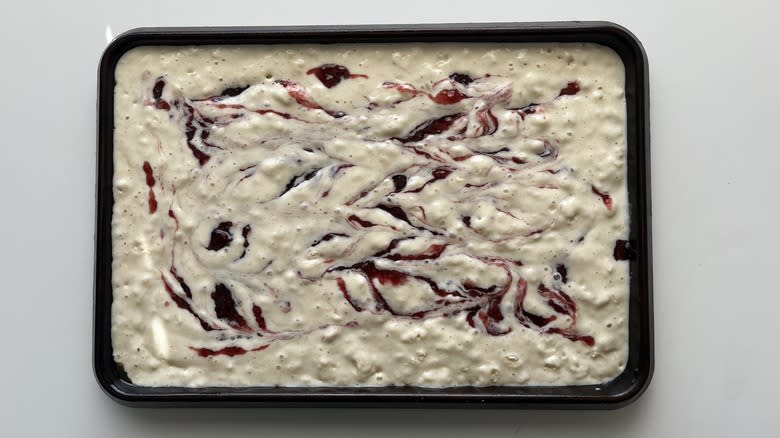
Using a butter knife, swirl the jam and batter together.
Step 9: Bake The Big Pancake

Bake for 15-20 minutes, or until a knife inserted into the pancake comes out clean.
Step 10: Make The Maple Butter
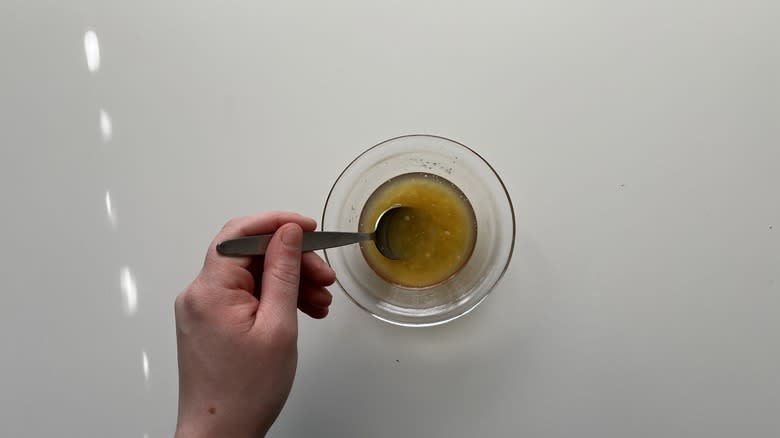
Meanwhile, mix together the remaining melted butter and maple syrup in a small bowl.
Step 11: Cool The Pancake Before Adding The Maple Butter Topping

Let the baked pancake cool for 5 minutes before brushing with maple butter.
Step 12: Cut The Pancake Into Pieces
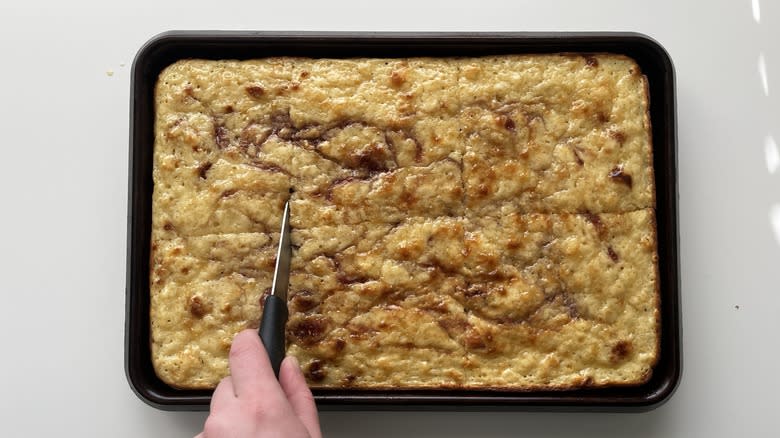
Slice into 6 slices and serve with extra maple syrup and butter, if desired.
Can I Fancy Up These Sheet Pan Buttermilk Pancakes?

While these pancakes are flavored with syrup and jam, you can swap out either or both and change them up to add a wide variety of different ingredients. Le Moing suggests that you can "add fruit into the batter like sliced bananas or berries" and says, "Chocolate chips or bacon bits are also fun options." Other ingredients you might want in your pancakes include chopped nuts, pumpkin puree, or spices such as cinnamon, ginger, and nutmeg. Le Moing also reveal, "I've even made them tie-dye before by using food coloring to dye different [portions of] the batter and make a swirl effect."
Le Moing also says, "The sky is the limit with toppings." Instead of the jam and syrup, you could opt for a slightly more out-of-the-box topper like peanut butter or honey (or both). You could also go minimalist with a sprinkling of powdered sugar or more dessert-like with ice cream, whipped cream, and chocolate syrup.
What Can I Do With Leftover Sheet Pan Buttermilk Pancakes?
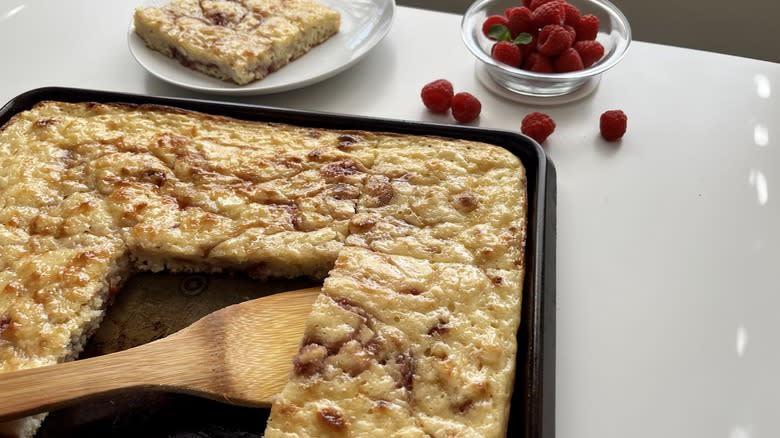
These pancakes make great leftovers -- as Le Moing says, "You can easily double the recipe and use a larger baking sheet." The leftovers, she says, should last up to 3 days in the refrigerator, although you can also freeze them. If you choose the latter option, though, you might want to use some wax paper to separate them so they don't all stick together inside a ziploc bag or other airtight container.
When you want to reheat your pancakes, there's no need to thaw them. Le Moing says that all you need to do is microwave them for about a minute or bake them in the oven at low heat (she suggests a temperature of 250 F) for 15 minutes. Yet another easy way to reheat pancakes involves using the toaster oven. The toaster oven doesn't require a lengthy preheating period and the pancakes come out crispier than the kind reheated in the microwave.
Sheet Pan Buttermilk Pancakes Recipe

Prep Time: 20mCook Time: 15mYield: 6 piecesIngredients
2 cups all-purpose flour
2 tablespoons sugar
1 teaspoon baking powder
? teaspoon baking soda
? teaspoon kosher salt
2 cups buttermilk
2 large eggs
6 tablespoons salted butter, melted and cooled, divided
1 teaspoon vanilla extract
6 tablespoons fruit jam of your choice
2 tablespoons maple syrup
Directions
Preheat oven to 425 F.
Grease a 9x13-inch baking sheet with cooking spray or butter.
Sift flour, sugar, baking powder, baking soda, and salt into a large bowl.
In a separate medium bowl, whisk buttermilk, eggs, 4 tablespoons melted butter, and vanilla extract.
Make a well in the center of the dry ingredients and pour in the wet ingredients. Gently stir until just combined. The batter should be lumpy with a few streaks of flour. Let the batter sit for 10 minutes.
Pour batter into the prepared baking sheet and smooth out the top.
Drop spoonfuls of jam all over the pancake batter.
Using a butter knife, swirl the jam and batter together.
Bake for 15-20 minutes, or until a knife inserted into the pancake comes out clean.
Meanwhile, mix together the remaining melted butter and maple syrup in a small bowl.
Let baked pancake cool for 5 minutes before brushing with maple butter.
Slice into 6 slices and serve with extra maple syrup and butter, if desired.
Read the original article on Tasting Table.