How to Sleep with Curly Hair & Wake Up Without Frizz
After a successful wash day (when those curls are looking bomb), you lay your head down and look forward to a good night’s sleep. While you might have sweet dreams, if you’re not protecting your hair you’ll wake up with a serious case of bedhead, including frizzy, tangled and flattened curls. To avoid that nightmare, here’s how to sleep with curly hair (even if you toss and turn).
RELATED: 8 Natural Hair Subscription Boxes for Curly, Coily & Protective Styles
How to Sleep with Curly Hair When It’s Dry
Whether you washed and dried your hair or it’s been a few days since your last lather, these tips and tricks can work wonders to maintain your curls.
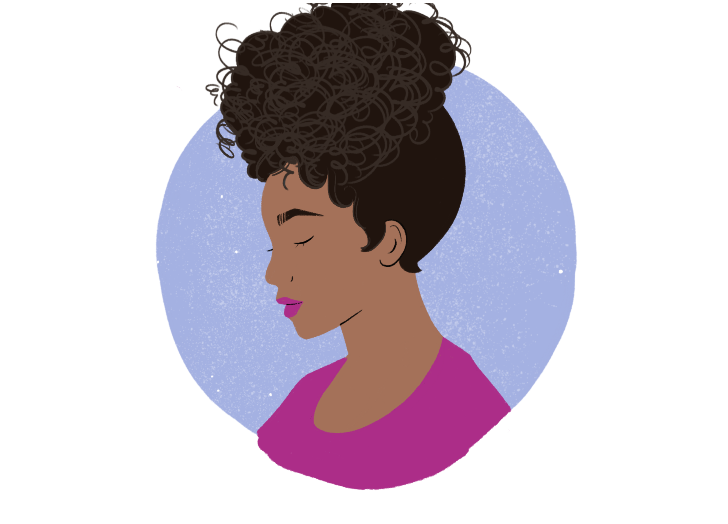
1. Pineapple
The “pineapple” method is one of the go-to curly hairstyles. Aside from resembling the sweet fruit, the style prevents you from crushing your curls and reduces friction while you snooze. The best part: It only takes a second to create the look (and there’s no need to make it perfect). Just lean your head down before you begin to form your hair into a ponytail. The ponytail should be placed between the crown of your head and your forehead. Use a silk or satin scrunchie to hold your hair in place. (Keep the ponytail loose to minimize any breakage, prevent dents and keep curls defined.) Need help doing the pineapple? Here’s a tutorial to get you started.
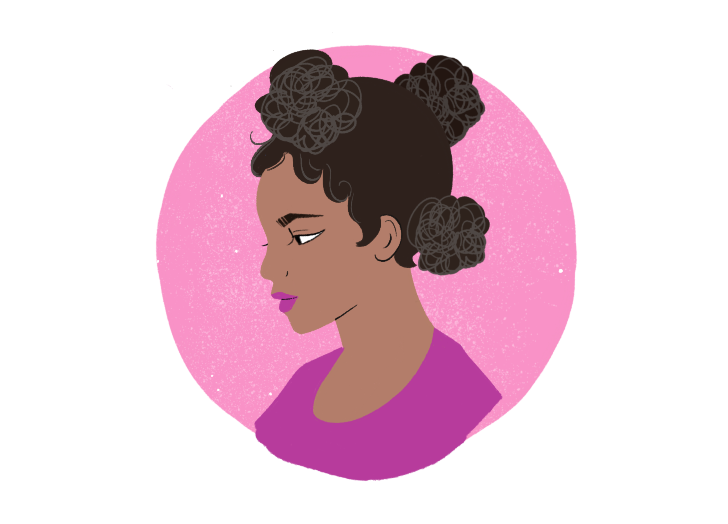
2. Multi-Pineapple
If you have shorter hair, the multi-pineapple might be a better alternative to the traditional pineapple look. Depending on your hair length, where and how many mini ponytails you can do may differ. If you have medium-length hair, you can try the “mohawk look” by sectioning your hair into thirds. If doing three pineapples is too much, try dividing your hair in the middle and doing two high ponytails close to the top of your head instead. Both options can be secured using satin or silk scrunchies (and some bobby pins for those hard-to-reach flyaways). Here’s a how-to video tutorial to learn the modified version.
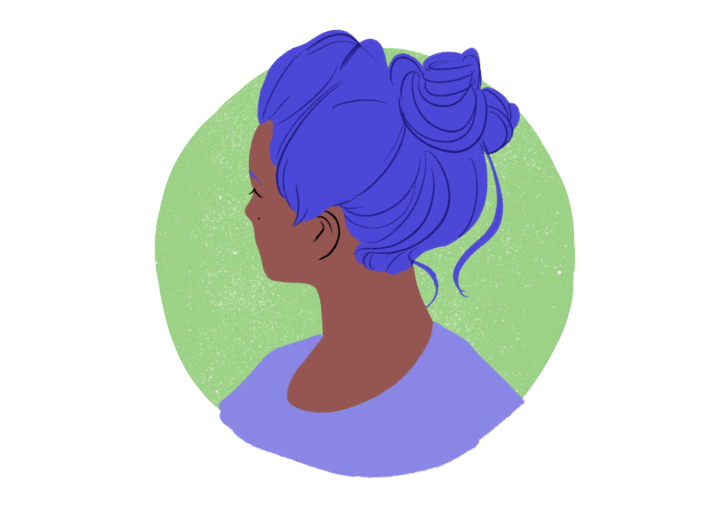
3. Messy Bun
The messy bun is similar to the pineapple ‘do, but it keeps hair off your face and helps maintains volume, even if you toss and turn. Just flip your hair over, twist and tuck your hair into a loose bun using a silk or satin scrunchie. While you may lose some curl definition, you’re reducing the chance of breakage or frizz. BTW, we got you covered on how to perfect a curly gal messy bun in this step-by-step tutorial.
4. Silk pillowcase
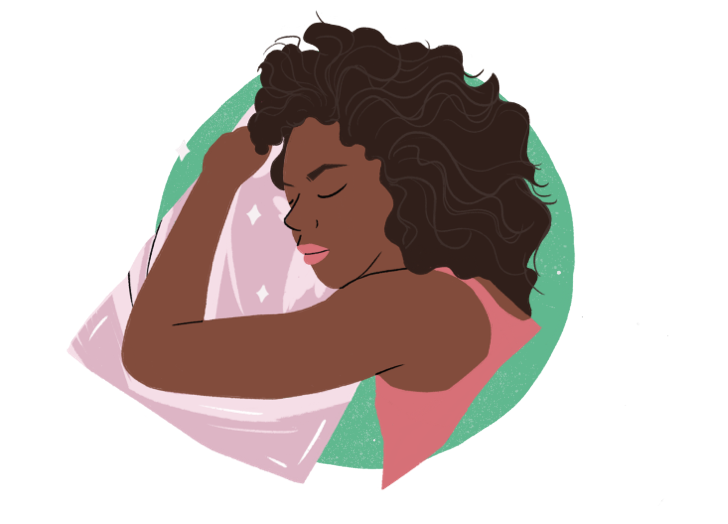
One of curly hair’s biggest enemy? Cotton, especially when it comes to your pillowcases. The material can leave hair feeling dry and looking frizzy. When you use regular pillowcases, it actually absorbs your hair’s moisture and stretches out your curl pattern, leading to the dreadful bird’s nest. So, invest in a silk or satin pillowcase that keeps curls hydrated, protected and tangle-free.
Shop more pillowcases: Ravmix Silk Pillowcase ($24); Brooklinen Mulberry Silk Pillowcases ($59); DKNY Indulgence Cotton & Silk Pillowcases ($100); Parachute Silk Pillowcase Set ($109); Slip King Pillowcase ($110)
5. Silk Scarf or Bonnet
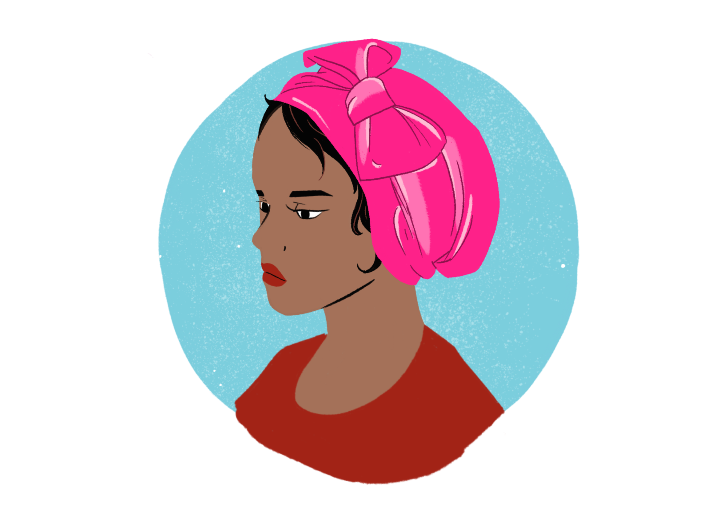
Regardless of what hairstyle you try, you can always count on a silk scarf or bonnet to give you added protection. Just wrap the scarf around your curly hair (here’s a helpful vid with different ways to tie it) or just slip on a bonnet (make sure to look for one with a silk or satin lining). These protective accessories can make your hairstyles last longer and keep curls tangle- and frizz-free.
Shop the scarves: Corciova Satin Scarf ($9); Your Smile Silk Like Scarf ($9); Glow By Day Satin Sleep Bonnet ($18); Grace Eleyae Mauve Satin Lined Cap ($22); SILKE London Hair Wrap ($65)
How to Sleep with Curly Hair When It’s Wet
Whether it’s wash day, you’re just too lazy to diffuse your hair (we’ve all been there) or prefer air-drying, you don’t have to worry about ruining your curly locks while you catch Z’s.
1. The ‘Plop’ Method
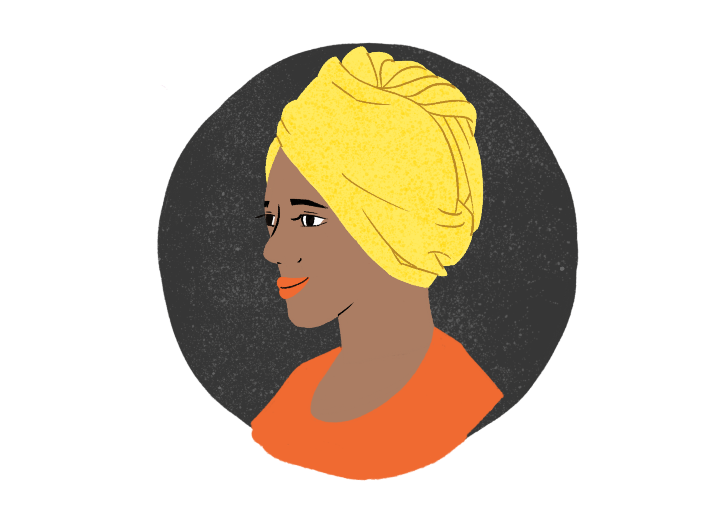
All you need is a scarf, microfiber towel or t-shirt for this popular drying technique. Its name comes from simply “plopping” your wet tresses onto your item of choice. Start by flipping your hair and gathering it at the center of the towel before bringing the furthest part close to your neck. Then start twisting the two sides of the towel and tying them together. If you’re using a t-shirt, use the same method as the towel, but instead tie the sleeves together (it’s best to use a large cotton t-shirt for this) and tuck any extra fabric. This method reduces frizz and breakage, and you won’t wake up with super wet hair or a wet patch on your pillow. Here’s a tutorial for using a microfiber towel and for using a t-shirt.
2. Two-Strand Twists
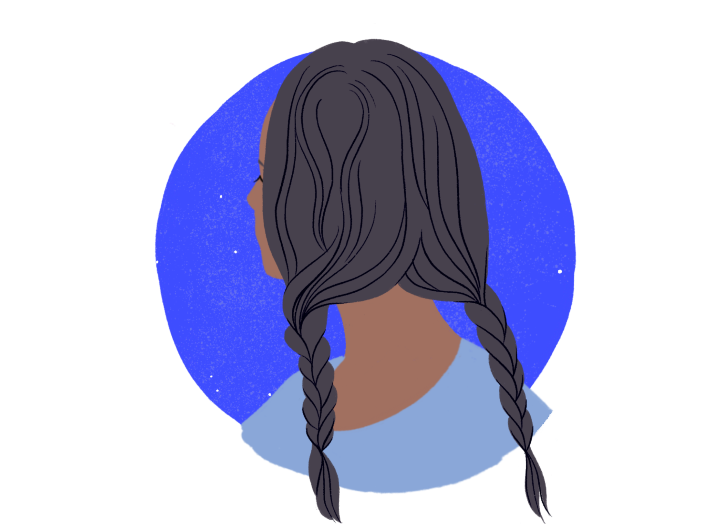
Bring back childhood memories with two-strand twists. Don’t worry, even if you’re not a braid wiz, this is a quick and simple style to do. Grab a small section of hair, divide it into two pieces and start twisting from roots to end. It’s totally up to you if you want just two big braids or a handful of mini braids for a more defined look. Once you get to the end of your braid, twirl the ends with some cream or gel to prevent it from unraveling. (Here’s a simple how-to if you're still confused.) A hair tie can also be used to secure the ends, but be aware it can leave a dent. Note: This hairstyle works best if you have thick or coily hair.
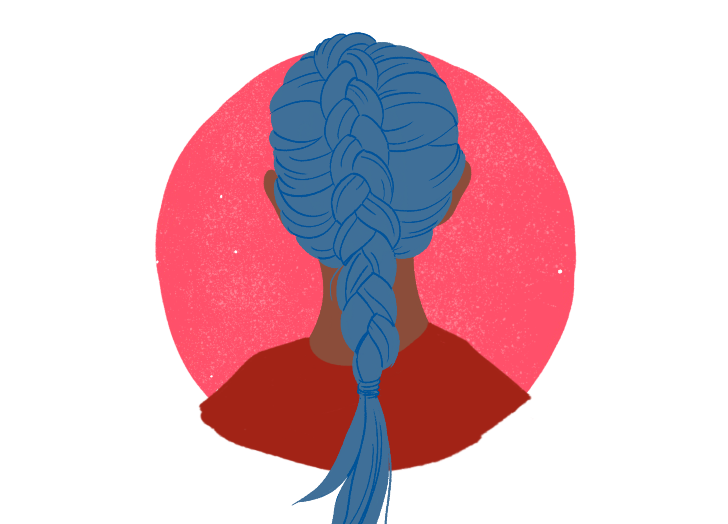
3. Braids
French braids, cornrows or just the classic three-strand twists will keep your hair secure all night long. Similar to the two-strand twist above, start by sectioning off your hair, but this time divide each section into thirds. You’ll want to start from the root and work your way down. Secure the ends with hair ties (though you might not have to with wet hair). You can decide how loose or tight you want your braids, just keep in mind that a tighter weave will change your curl pattern and give it a wavy or crimped look. Aside from keeping your hair in one place, braids are a great heatless alternative if you’re dealing with three, four or even five-day curls. Here’s a braiding tutorial to get you started.
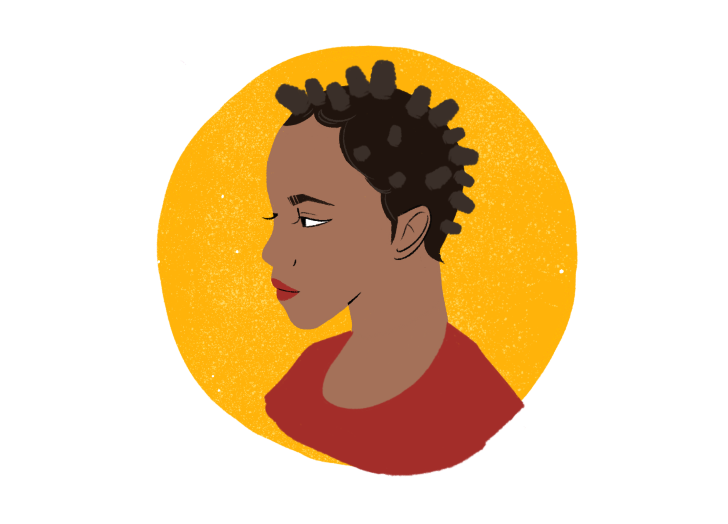
4. Bantu Knots
A traditional African hairstyle, bantu knots have been a protective style for many women of color that produce tight, bouncy curls. Begin by sectioning your hair (the bigger the sections, the larger the curls) and twist your hair before wrapping it around into what looks like a knot. You can tuck the ends to secure the knot or use bobby pins to keep it in place while you sleep. To perfect your technique, we found not one, but two helpful videos on bantu knots.
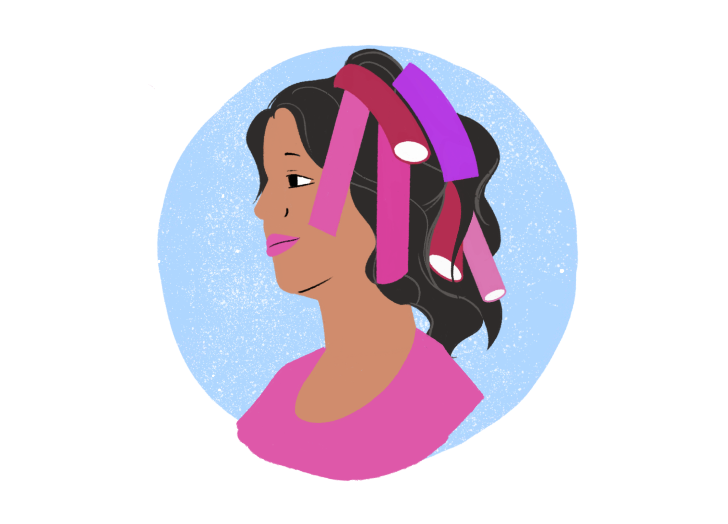
5. Flex Rods
What’s the problem with rollers? They’re way too uncomfortable to sleep on. Thankfully, flex rods put those painful memories to rest. They’re a soft, easy and heatless tool to leave on overnight especially with wet or damp hair. Just separate your hair and wrap each section around a rod. Use smaller rods on top and the larger ones on the bottom for a more voluminous look. The next morning, unravel and marvel at your defined curls. We recommend checking out this visual example if you’re still lost.
What To Do The Next Morning
After you unbraid, take off the scrunchie or remove the bonnet, shake your curls out before spraying a curl refresher on your hair. If you woke up with wet hair, use a diffuser to fully dry it. Start fluffing to add some volume and apply products for a boost of shine. Now, marvel in your best (and healthiest) curls yet.
RELATED: The 7 Hair Products That Are Keeping Me (& My Curly Hair) Sane During Quarantine
PureWow may receive a portion of sales from products purchased from this article, which was created independently from PureWow's editorial and sales departments.
