Everything You Need to Know About Starting a Vegetable Garden
Just off of Highway 31 in East Nashville, tucked between a newly built two-story home and an old shotgun house fronted by a merry mix of bird baths and plastic flamingos, is a yellow cottage whose broken doorbell is taped over with a sign that reads, “Nope!” You’d never guess from looking at it, but walk around to the backyard and there’s a glorious vegetable garden bigger than the interior of the house itself.
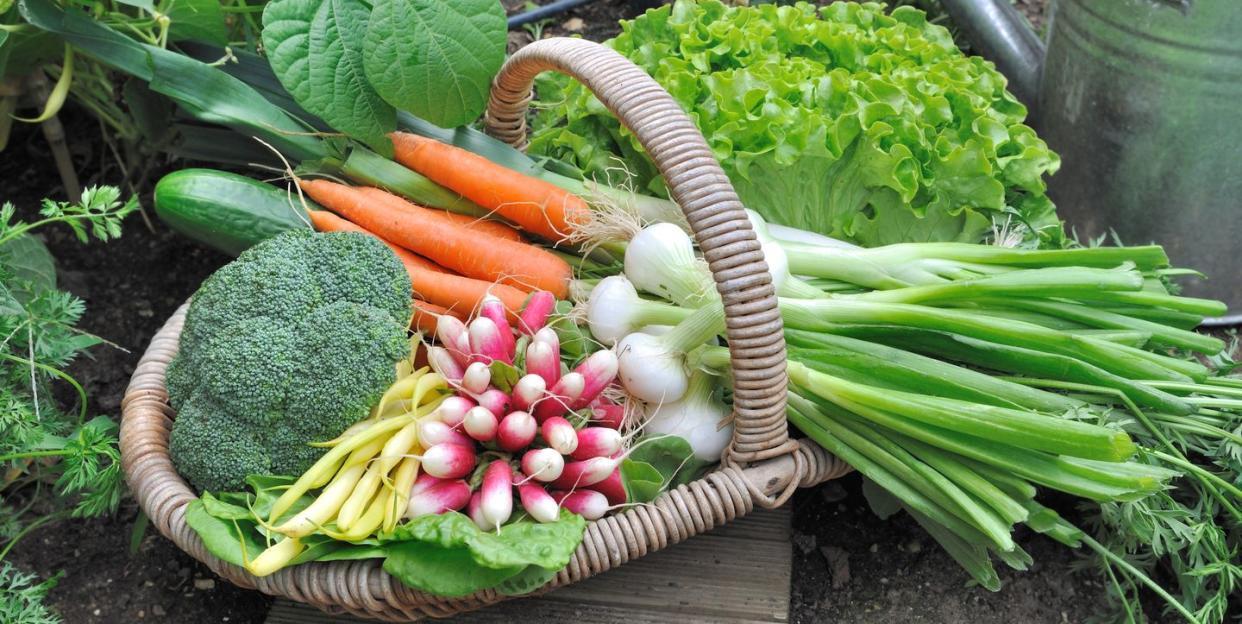
Last fall, the 900-square-foot garden teemed with several varieties of cabbage, beets, carrots, cauliflower, scallions, garlic, and leafy greens, and this spring and summer it will contain a slew of diverse crops including tomatoes, cucumbers, eggplant, heirloom varieties of melon and corn, and even peanuts.
Amazingly, not long ago this thriving micro-farm was a scrappy expanse of grass and weeds. According to Suze Bono, the garden’s creator, the transformation from lawn to plot was fast. “I spent a solid few days preparing the garden beds," she says. "It was sweaty hard work, but it didn’t take that long.”

Bono is an accomplished farmer, cook, fermentation expert, and currently, goatherd and maker of goat milk soaps, so creating a garden from scratch may come a little bit easier to her. She started the garden with the goal of growing enough vegetables to supply her bi-monthly fermentation share, Salty Cellar, for which she creates delectable fermented goods like cranberry apple relish and rainbow kimchi.
But she also grows food for the sheer joy of sharing it with others, like her elderly neighbors with the lawn ornaments. “I will give food to absolutely anybody who wants it!” Bono explains passionately. “I have taken veggies to the proprietors of the laundromat where I wash my clothes and to the trash collectors when they were emptying out my bin. Providing food for people is a way to be in tangible communion and community with people.” No wonder then that Bono is a popular addition to the neighborhood.

One reason that Bono chose her little yellow house was for its good, clean soil: “This yard has been gardened since the '70s. It was dormant for the last decade or so, but there wasn’t anything industrial going on here.” If you have any doubts about your soil, or are just curious to know its nutrients and deficiencies, it’s easy enough to get it tested.
Although Bono may have gardening skills that are more sharply honed than most people’s, don’t be intimidated. The best way to learn to grow food is to grow food. “Don’t get sucked into so much research that you become immobilized by all the opinions and advice of other gardeners,” says Bono. “Pick a method, stick to it, and you’ll know if it works for you or not.”
With that said, the steps below provide a blueprint for going from grass to garden. If you don’t mind using a little elbow grease, then you too can turn your yard into a bountiful plot.
1. Map out the garden.
Decide where you want the beds to go and mark them off. “There is no wrong way for the garden to be laid out, just a bunch of different perfectly fine ways.” With these encouraging words from Bono, lay out the location, shape, and size of your garden. You can always change it as you go along.
2. Till the soil.
Use a garden tiller to loosen and break up the mats of grass below your garden bed. If it’s Bermuda grass in particular, there will be quite a bit of grass choking the soil. A garden tiller can run into the hundreds of dollars, so if you’re just starting to explore vegetable gardening, look for one to borrow or rent, as Bono did.
3. Turn the soil.

Turn the soil, one shovel at a time, in order to reveal Bermuda grass roots and loosen up the hard-packed yard. Go through every bit of the soil with your hands, picking out as much grass as you can. This is the most time consuming part of the process, but it makes all the difference in preventing pesky new blades of grass from sprouting up.
4. Add worm castings.
Worm castings, a.k.a. poop, are a rich natural fertilizer that stimulate plant growth and help soil retain water. You can order it on Amazon, find it in garden stores, or make it yourself by composting with worms! Work in the worm castings as you turn and break up clumps of soil. If you’re not seeing a lot of earthworms in your soil already, be generous with the castings. Your garden store can advise you on how much to add.
5. Mulch the seed beds with straw.

Cover the beds with 1 foot of straw, which will settle to about about 4 inches or so after a couple of good rains. Part the hay slightly where you sow seeds so the sun can shine directly on the soil. As plants sprout and grow, add straw several times, particularly where weeds come in. The heavy mulch retains moisture so you don’t have to water as much, encourages earthworms to stay closer to the surface, and keeps leafy greens clean because there's no soil splashing back up onto the leaves when it rains.
One downside of straw mulch is that it provides a hide-out for slugs during the day. Bono recommends hand-picking them off at night with a headlamp and a tub of soapy water to toss them into. Companion planting with alliums, which naturally ward off slugs, is also a good idea.
You Might Also Like
