Tips for Thoroughly Cleaning a Refrigerator Both Inside and Out

Keep your refrigerator sparkling clean with these easy cleaning tips for routine care and deep cleaning.
The fridge is the kitchen's workhorse, and thoroughly cleaning a refrigerator takes more than a quick weekly wipe-down. Without regular upkeep, stains and food residue can build up on the outside surfaces and inside on shelves and drawers, while forgotten perishables in the back can give off funky smells every time you open the door.
To keep your fridge in good condition and ward off unpleasant odors, use these tips for cleaning a refrigerator inside and out. Gather a few natural cleaning ingredients and everyday household items, such as baking soda, water, dish soap, and dry cloths. Then move your food to a cooler, and you're all set to tackle cleaning a refrigerator.
Related: The 7 Best Counter-Depth Refrigerators to Save Space In Your Kitchen

Cleaning Refrigerator Shelves and Drawers
First, remove (if removable) and hand-wash refrigerator shelves, wire racks, and drawers in hot water and mild dish soap. Let any glass components warm to room temperature before bringing them into contact with hot water; otherwise, they might crack. Cover stubborn food spills with a warm, wet cloth for a few minutes to soften the spills before removal with a nonabrasive scrubber ($5, Home Depot). Pay special attention to the bottom of wire racks, which attract debris.
Related: Refrigerator Organization Ideas for Better Function and Storage

Cleaning the Refrigerator Interior
For drawers and shelves you can't remove, along with the sides of the internal compartment, grab baking soda and some water. Clean inside your fridge with a mixture of one part baking soda and seven parts water. Beware of commercial refrigerator cleaners, as their scent might transfer to food. Work from top to bottom to prevent drips from landing on already-clean surfaces. Use a toothbrush designated for cleaning or toothpicks to reach cracks and crevices you can't get to with a cloth, such as hinges and other hardware. Wipe everything dry with a clean towel.

How to Remove Fridge Odors
Your refrigerator can foster an ideal environment for foul odors unless you take the necessary action. Fortunately, you can tackle foul refrigerator smells without harsh chemical cleaners. Once you've rinsed and dried all surfaces, deodorize your refrigerator by filling an open container with dry baking soda and leaving it on the bottom shelf. This will absorb any future odors from lingering near your food, so keep it there when you refill your fridge.
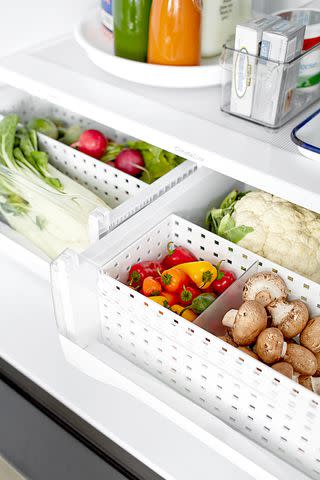
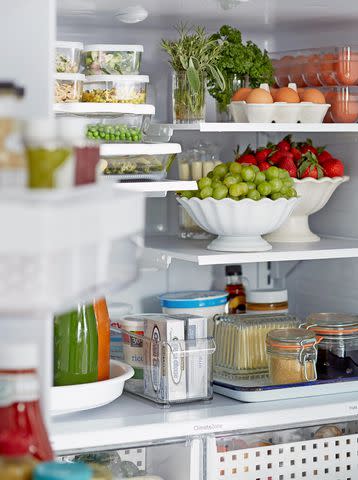
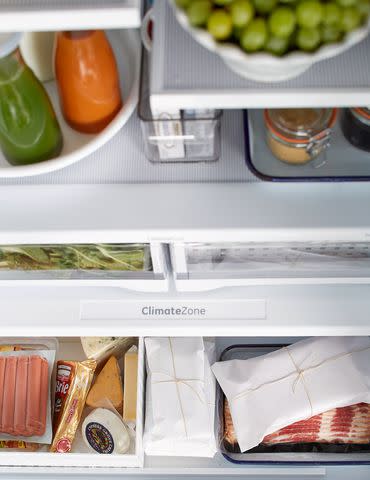
Once your refrigerator is clean and deodorized, put everything back. Now is also a good time to declutter and organize your fridge. Toss any expired or spoiled food, group like items together, and consider using bins and containers to corral items.
Related: This Ingenious Organization Hack Will Finally Make Use of the Wasted Vertical Space in Your Fridge
Cleaning the Refrigerator Gasket
Pay special attention to the rubber gasket around the fridge door. It needs to be cleaned regularly to maintain a tight seal. Use warm water and liquid dish soap for everyday grime and a bleach-based cleaner if you find mold. Rinse thoroughly and wipe dry. Then coat the seal with a thin layer of petroleum jelly ($2, Target) to keep it from drying out.

Cleaning the Refrigerator Exterior
Keep your refrigerator sparkling with a good exterior cleaning. Wipe with a cloth sprayed with an all-purpose cleaner, using extra elbow grease on the handles where grime builds up. Remember to occasionally wipe down the top of the refrigerator, too. Although this area might not see the day-to-day traffic of the handles and doors, dust can accumulate there over time.
The method for how to clean a stainless-steel refrigerator is a bit different, so use these tips to help eliminate smudges and fingerprints. For a quick clean, wipe the surface first with a damp microfiber cloth, then with a dry one. When the grime is a bit more stubborn, try rubbing alcohol. Place a few drops of rubbing alcohol on a soft cloth and rub over the stains. When cleaning stainless-steel appliances, always wipe with the grain.
Related: 5 Home-Cleaning Resolutions for a Cleaner House All Year
Cleaning Refrigerator Coils
Even the parts of the refrigerator you can't see, such as the coils, need cleaning occasionally. Although cleaning refrigerator coils is a bit more intense, completing the chore can help your refrigerator run better and last longer. Follow these steps for cleaning refrigerator coils, and you can confidently check this home maintenance task off your to-do list.
Before you begin, check your owner's manual for specific instructions. If you can't find it, look online. Most appliance manufacturers have their manuals online, and you can find yours by searching for the model number.
No matter your make or model, the first step in cleaning refrigerator coils is always unplugging the refrigerator. Then locate the coils (some are on the back of the fridge, and some are on the underside). If yours are on the back of the refrigerator, carefully pull the appliance away from the wall. Use a coil brush ($5, Home Depot) to clean around the coils. Sweep or vacuum any debris on the floor, move the refrigerator back in place, and plug it back in.
For models with coils on the bottom of the appliance, remove the grill piece on the front of the refrigerator. Use a coil brush to clean the coils carefully. Vacuum or sweep up any debris and replace the grill before plugging the appliance back in.

Cleaning a Refrigerator Water Dispenser
To continue enjoying fresh, filtered water from your refrigerator, occasionally give the water dispenser a good cleaning. Like refrigerator coils, you should consult the owner's manual before cleaning. Systems vary from model to model, and a manual is a good source for specific instructions and information for troubleshooting major water dispenser problems. Check the manual for your water dispenser and ice maker filter replacement schedule, too. Replacing the filter as recommended will help keep the dispenser and ice maker in good working condition.
The water dispenser tray is prone to water spots and stains. To clean it, wipe down the tray with a vinegar-based cleaner ($5, Home Depot) and dry it. If the tray is removable, take it out and wash it in your sink. Be sure to clean underneath the tray, too. A soft toothbrush can help get in any nooks, crannies, and vents.

How to Remove Mold from a Refrigerator
With their chilled and sometimes damp environment, refrigerators can be susceptible to mold. To eliminate mold inside your fridge, avoid abrasive or bleach-based cleaners. Instead, grab baking soda and mix one tablespoon into a quart of warm water. Wipe down the moldy surface, then thoroughly wipe dry to remove excess moisture.
Cleaning a bit of mold from a spill or from a refrigerator sitting empty is pretty straightforward. However, bigger catastrophes, such as a flood or when a fridge full of food stops running for an extended period, may warrant more extensive cleaning. In these instances, consult an appliance repair professional who can give your refrigerator a good once-over and make recommendations. If mold is growing in the inner workings of the refrigerator, a simple cleaning won't restore the refrigerator to its original state, and you may have to consider more extensive measures, such as recycling a refrigerator and replacing it with a new model.
Preventive Measures to Keep Your Fridge Clean
A few simple steps can keep your refrigerator looking (and smelling) fresh for longer. Avoid reloading the fridge with sloppy food containers or spoiled fruits and vegetables to prevent sticky spills. Immediately toss anything that's expired or of questionable freshness. Use baking soda and water to wipe off jars, bottles, or cans with drips or crusty lids. Make sure you use clean cloths and dry everything thoroughly before putting it back. To make this task easier, clean refrigerator items as you use them in cooking and meal prep.
Take time once a week to throw out spoiled produce or leftovers lingering in the back of the fridge. Check expiration dates on dairy products and condiments and toss out anything past its prime. Removing these items prevents odors and sticky spills from returning to your clean refrigerator.
Related: Tired of Tossing Food? Waste Less with These Storage Strategies
For more Better Homes & Gardens news, make sure to sign up for our newsletter!
Read the original article on Better Homes & Gardens.